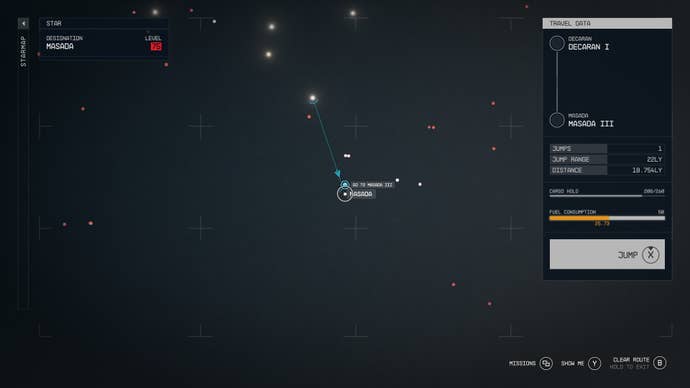
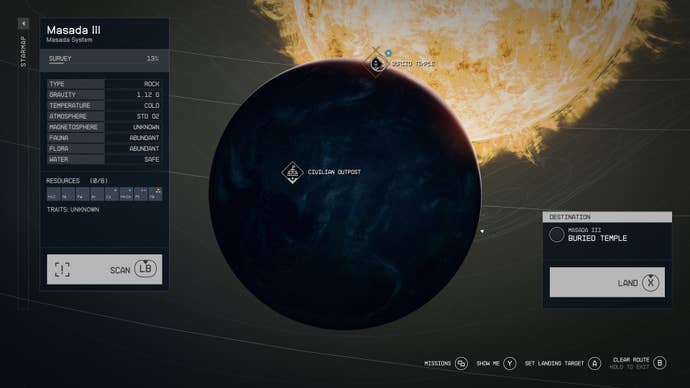
Go to Masada III

Fast travel toMasada IIIby setting course via the data menu.

Depending on who you chose, they’ll side with you for the battles that lay ahead.

If you chose neither, you’re going to have to take everyone on on your own.

Players descend the lift to the Buried Temple with the Emissary in Starfield.

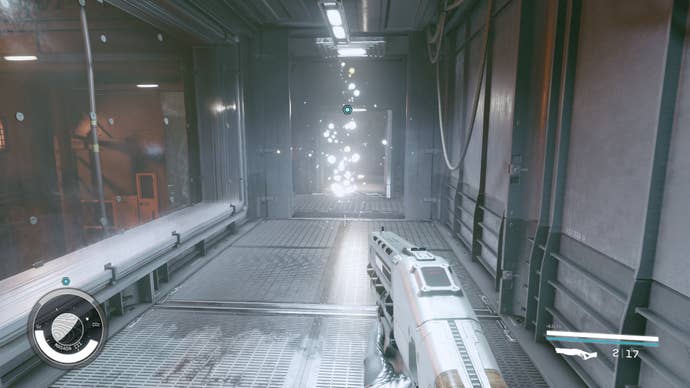
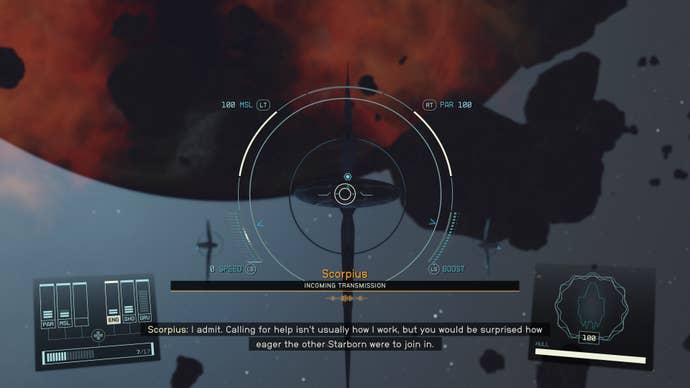
It all starts with a space battle.

Defeat Guardian Musa

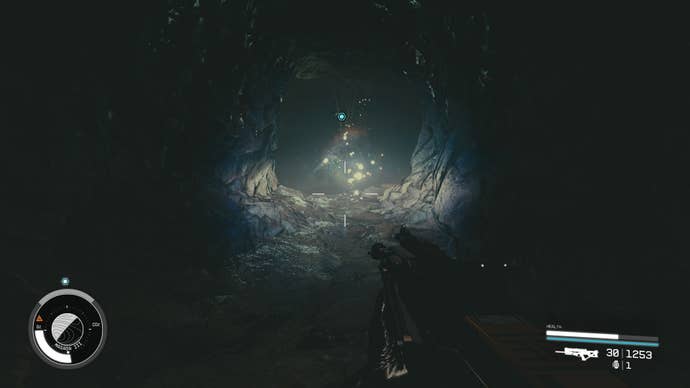
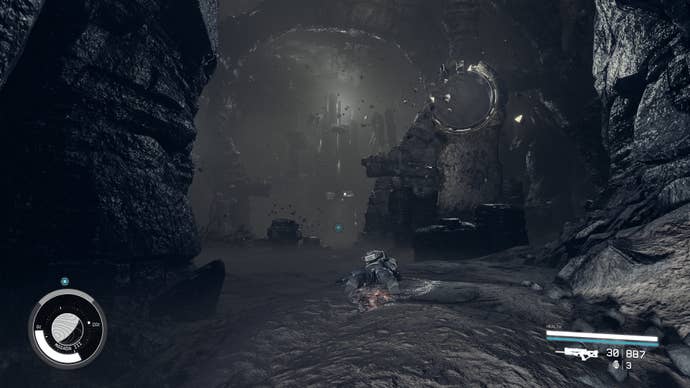
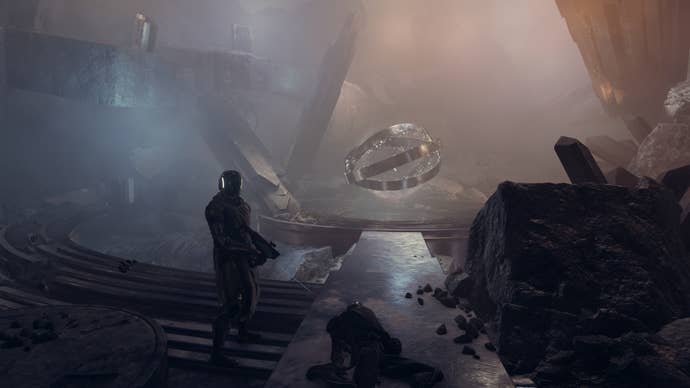
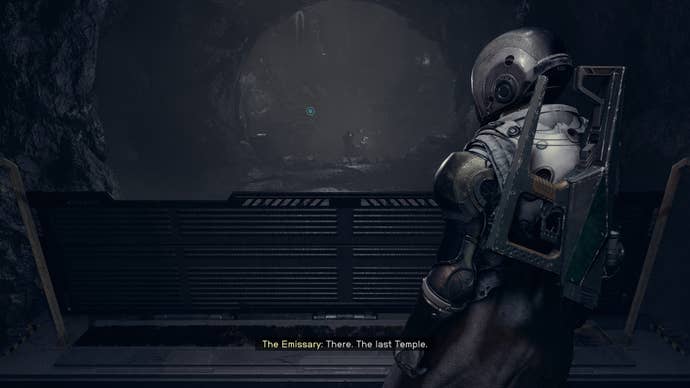
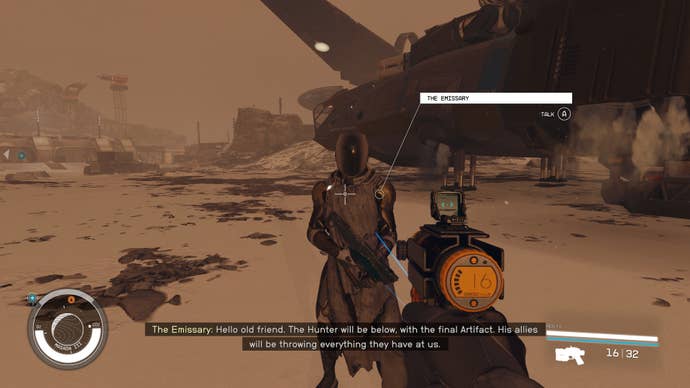
When you reach the buried temple, the StarbornGuardian Musawill appear.

They’ll be throwing a lot of grenades, so keep your distance and keep moving.

The journey to Masada III reveals details on how to reach the planet in the data menu in Starfield.

Focus on taking down each clone until you clear them all.

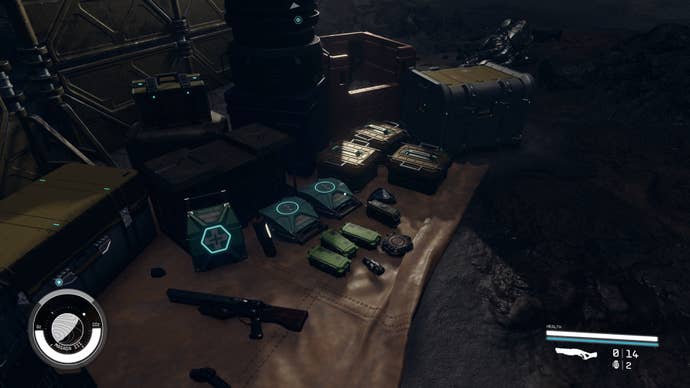
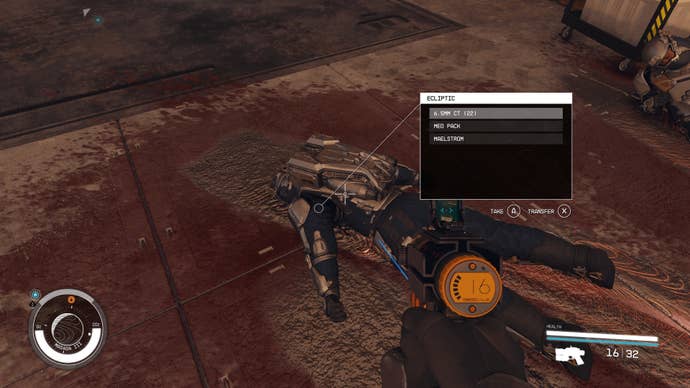
This is where the items you’ve looted from the ecliptics on the way come in handy.

Continue the search for the artifact

8.

An incoming transmission from the ship, Scorpius in the orbit of Masada III in Starfield.

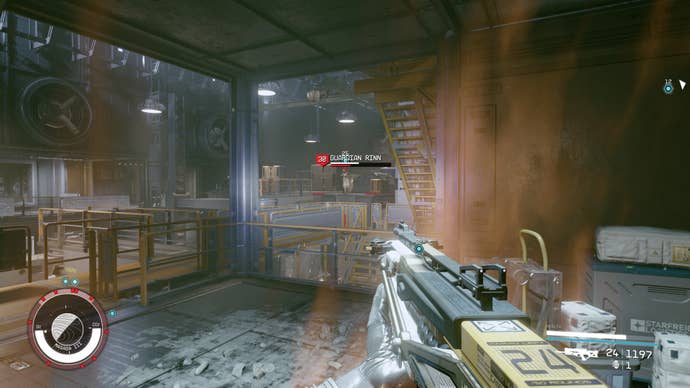
The top combat tip here is to focus on Guardian Athaliah.

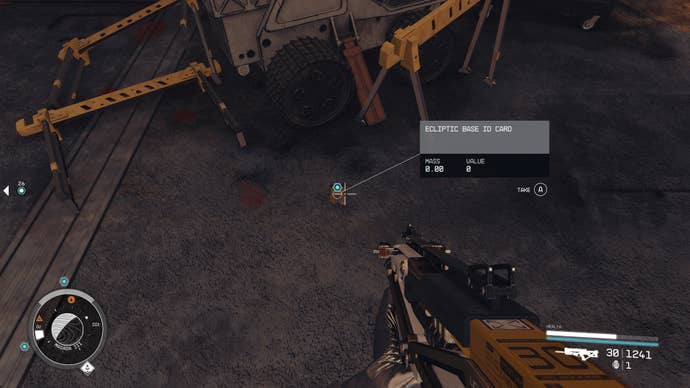
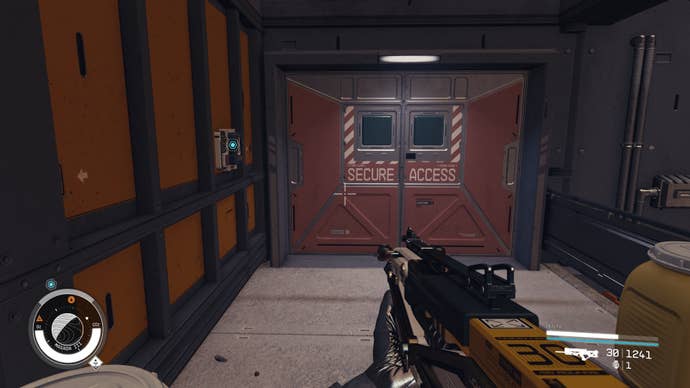
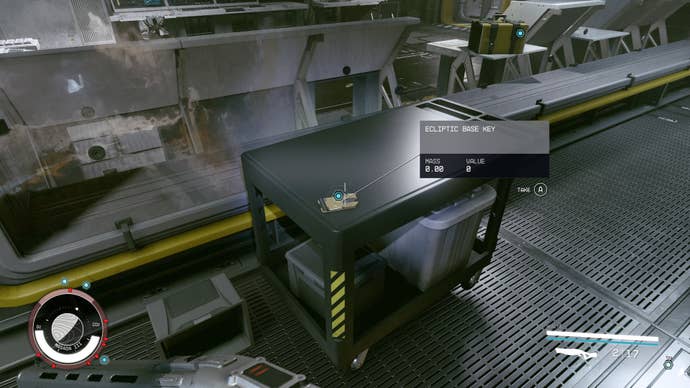
Head to the door and use the ID card on the left of the door to enter.

You will needExpert Lockpickingin order to jump into the room though.
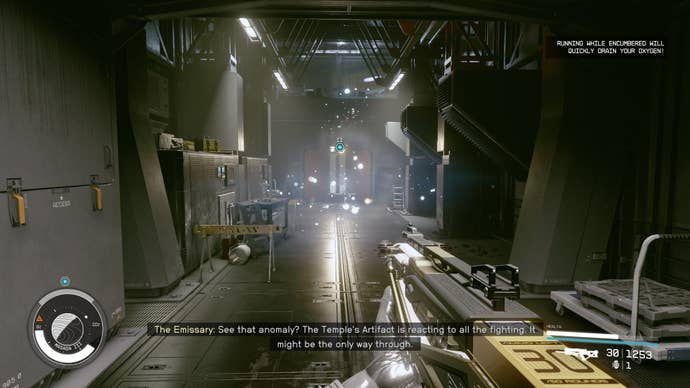
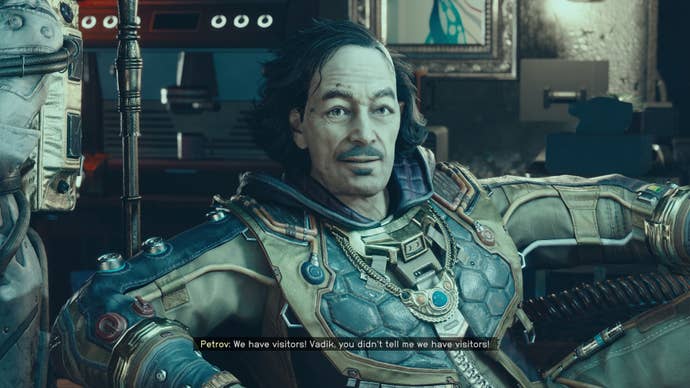
The Buried Temple landing spot on Masada III in Starfield.

Enter the anomaly

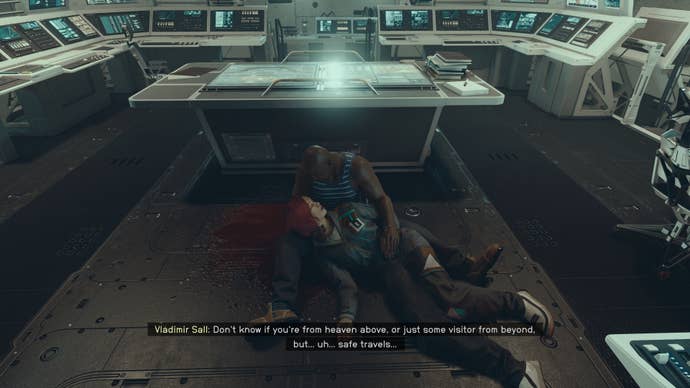
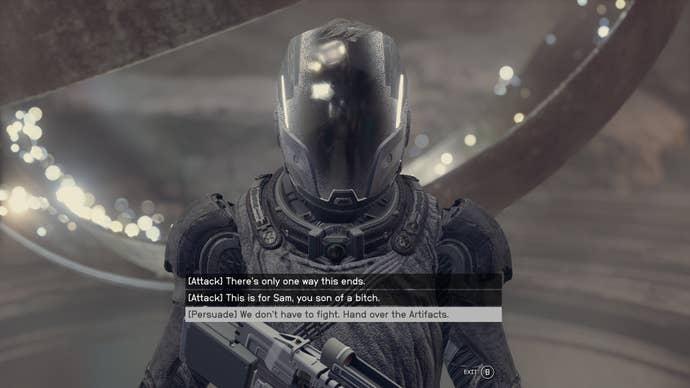
15. it’s possible for you to either talk to Vladimir or attack him.

Killing him means you could acquire his outfit.

Leave the anomaly

18.

The Emissary greets players as they land on Masada III at the Buried Temple outside their ship in Starfield.

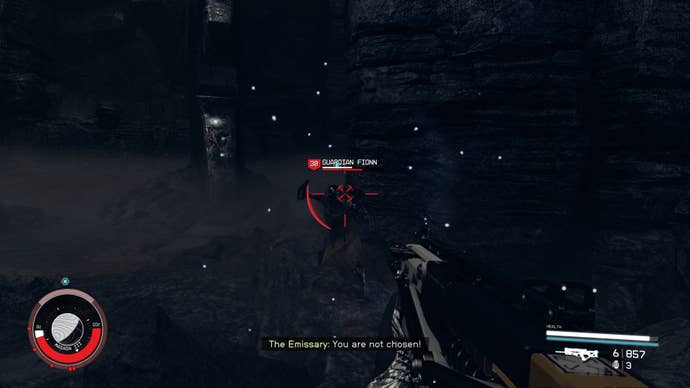
Defeat Guardian Fionn

Be sure to gather more loot before entering into the next battle.

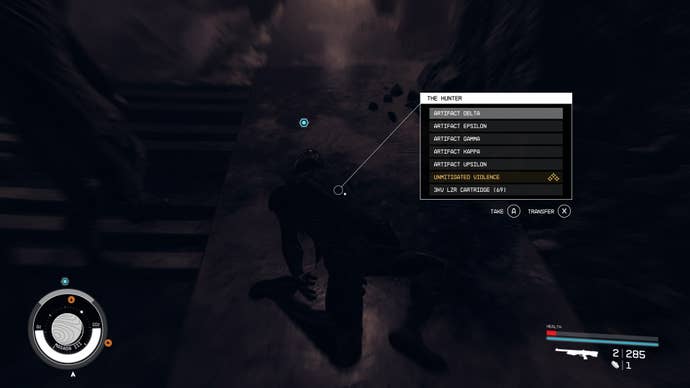
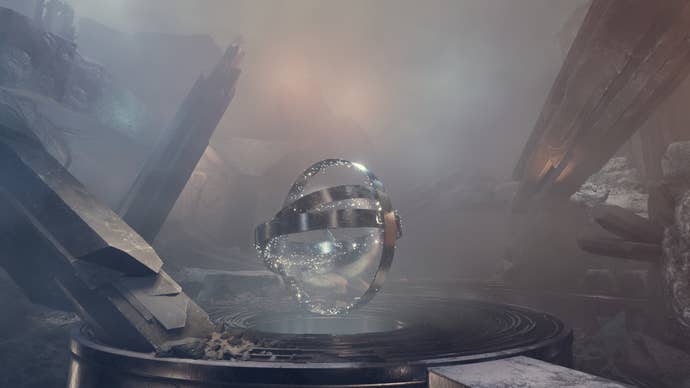
Head over to the last artifact in the middle of the rings.

At this point, you might finally takeartifact Muand be transported back to your ship.

An ecliptic soldier’s body is seen on the floor with the list of loot available to take in Starfield.

That’s it, you’ve completed the Revelation mission.

Guardian Musa appears in the construction site at the Buried Temple with blue locators highlighting the duplicates in Starfield.

A selection of important loot including a Med Pack, ammo, and a Trauma Pack in Starfield.

Guardian Athaliah appears to the side of the building attacking the players in Starfield.

The ecliptic base ID card is found on the floor following battle in Starfield.

The red secure access door is locked with the blue locator highlighting where players should interact to gain entry in Starfield.

The glittering anomaly appears in the corridor for players to enter in Starfield.

Supervisor Lin is seen talking to Heller in the cave system in Starfield.

The glittering anomaly appears again at the end of a tunnel in the cave system for players to leave in Starfield.

Guardian Rinn engages in combat with the player in a large room in Starfield.

The ecliptic base key is found laying on top of a trolley in Starfield.

The ecliptic engineering control terminal computer in Starfield.

A screen shows players how to deactivate the robots and change the friend and foe settings in Starfield.

Another glittering anomaly appears in the middle of a corridor in Starfield.

Captain Petrov of the Scow addresses players as they enter an anomaly on his ship in Starfield.

Vladimir Sall holds the player’s dead body in his arms in an alternate universe in Starfield.

The large cavern of the last temple with a body on the floor, floating rocks, and glowing circles of rock in Starfield.

A collection of ammo, Med Packs, Trauma Packs, and boxes all available to loot before players head further into battle in Starfield.

Guardian Fionn appears close to the players in combat in Starfield.

The Hunter offers options to persuade or attack in order to acquire the final artifacts in Starfield.

A list of the artifacts available to retrieve from the Hunter’s body in Starfield.

The Emissary stands alongside the body of the Hunter in Starfield.

The rings encompassing artifact Mu shine in the center of the cave in Starfield.