There’s a ton to explore, and some game mechanics and puzzles can be complicated.
And now, get ready to face your destiny, Jedi.
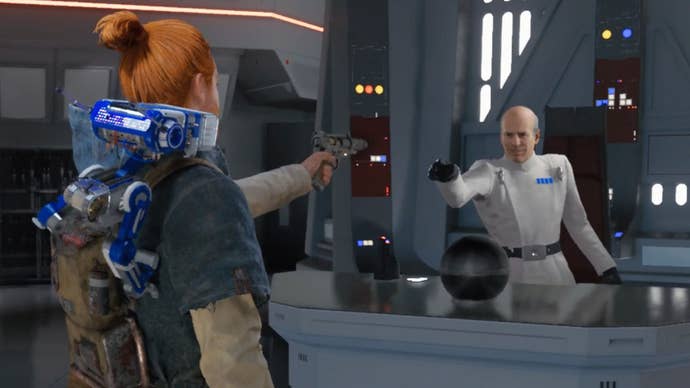
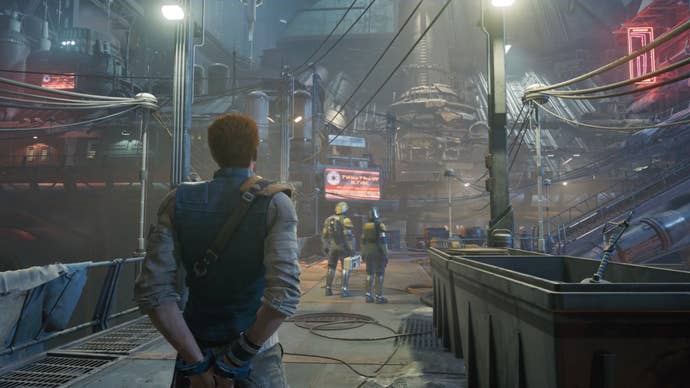
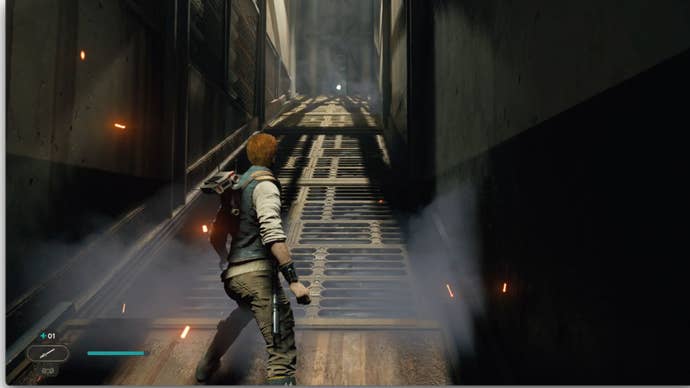
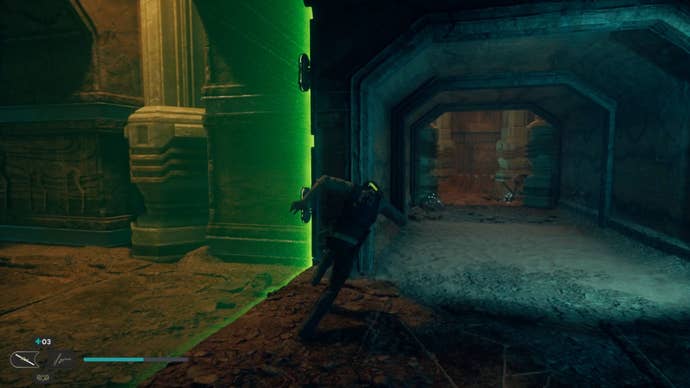
Initially, Coruscant acts as a tutorial zone.
You’ll then be tasked with pursuing their yacht.
Familiarize yourself with these mechanics early on you’ll use them often.
After progressing across rooftops and pipes, you’ll come to your firstMeditation Point.

If you die, you’ll reemerge at your last meditation point, so meditate often.
Skill points differ fromperks, which you’ll pick up in unique situations throughout the game.
What are perks, you ask?
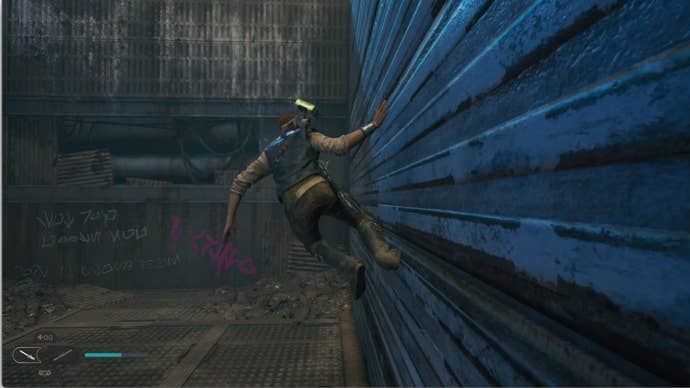
After meditating, turn right and climb a wall.
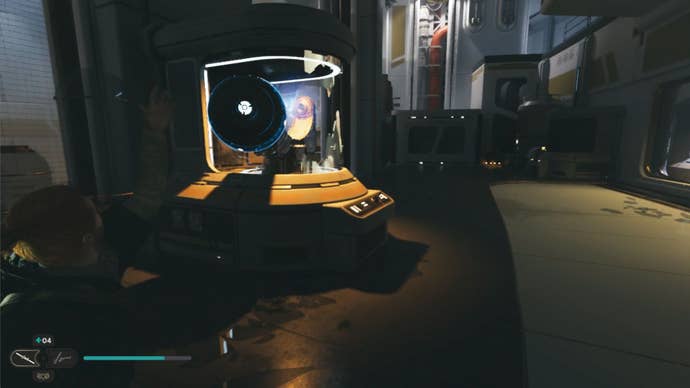
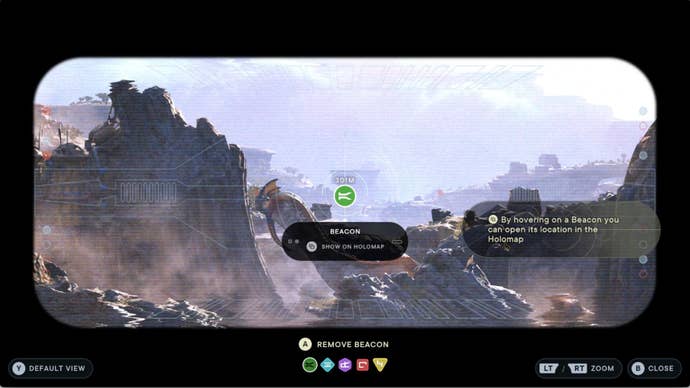
Continue forward to unlock the Holomap automatically.
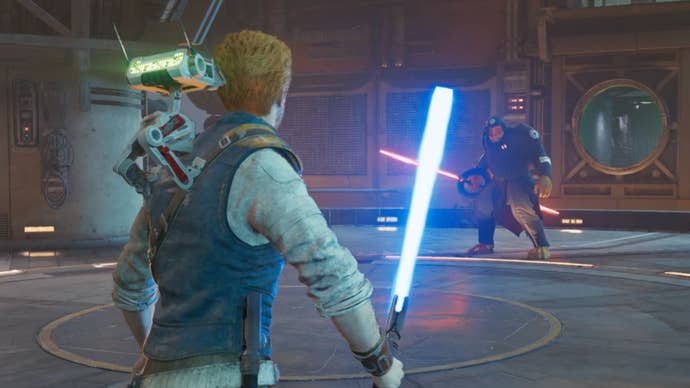
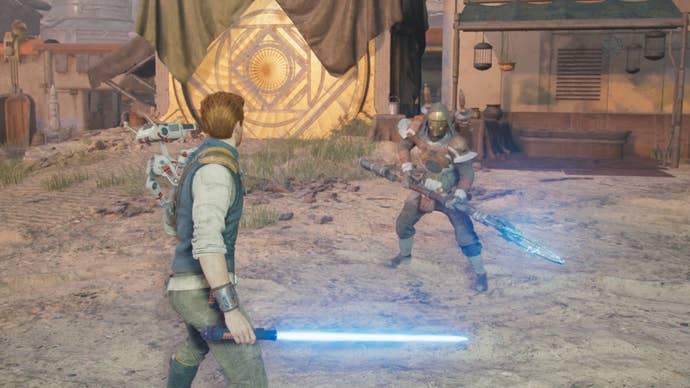
You’ll then learn thedouble-bladed stanceas you enter another fight.

You’ll then encounter an incline that you’re free to’t climb.
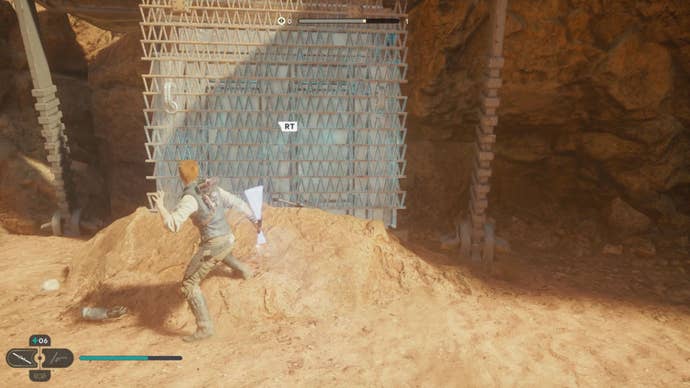
Continue your ascent, then go down a slope and fight more Stormtroopers.
Once you’ve demolished the Stormtroopers, stop for a breather at the Renovation Site 4722 Meditation Point.
This progression leads to the Freight Handling Meditation Point, and soon after, a cutscene will ensue.
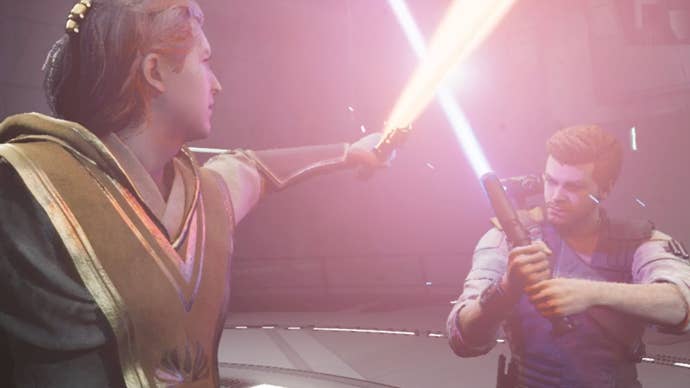
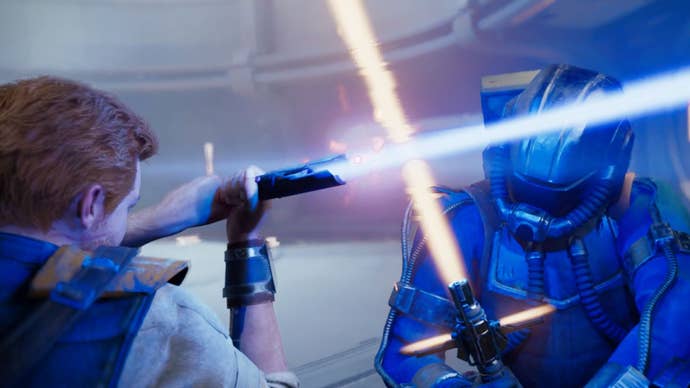
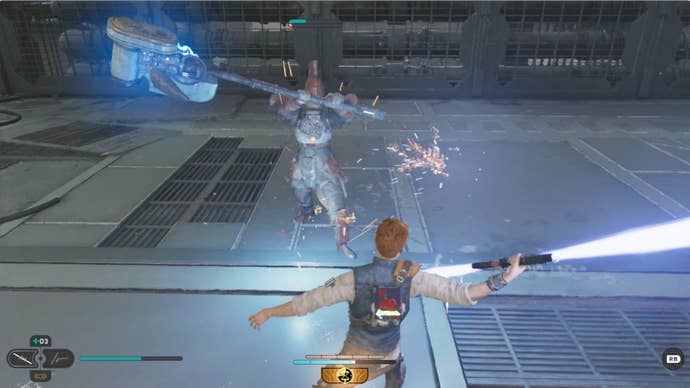
You’ll find yourself facingthe Ninth Sister and boy, is she a jerk.
You’ll also gain access to thedual wield stanceduring this fight.
Remember that your Slow ability is your friend.
you’re able to do significant damage when in this state, so use this wisely.
Leave the area, top off your stims at the Skylane Regulation Station, and continue.

You’ll return to your remaining crew members before you reach the Hangar 2046-C Meditation Point.
There, you’ll attempt to findGreezto help get your ship in working order.
Soon upon entering Koboh, you’ll find yourself overlooking a massive canyon.
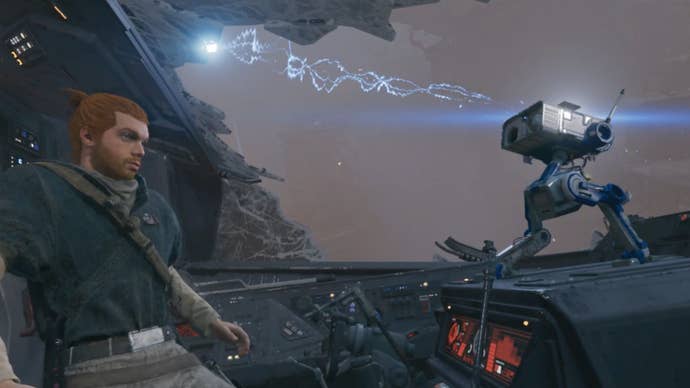
The game will introduce you to BD-1’s visor, which is handy for gleaning info over long distances.
Continue onward, meditating at the Gorge Site Meditation Point before progressing.
You’ll use these to breach the dam.
Force your way through some baddies to the Derelict Dam Meditation Point.
Climb the dam wall, attack the enemies and go through the cavern.
Drop into the tunnel and use themining droneto blast pop swing open the wall.
Press onward until you come to the Southern Reach Meditation Point.
Chat with Mosey, and continue to the Rambler’s Reach Meditation Point.
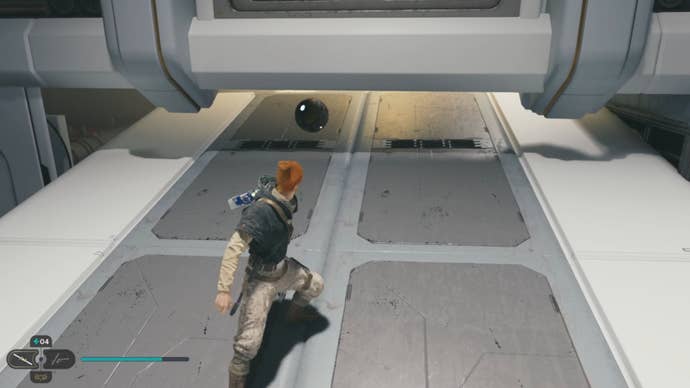
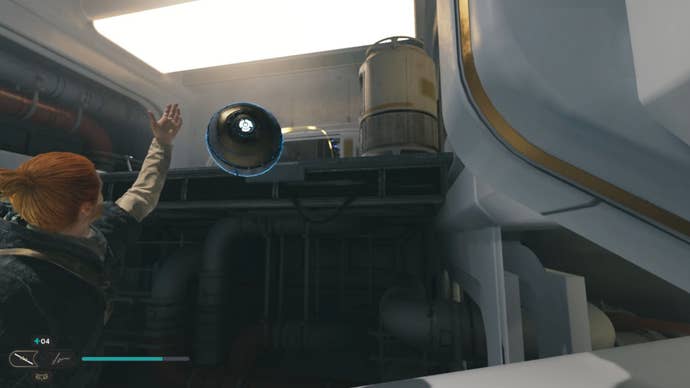
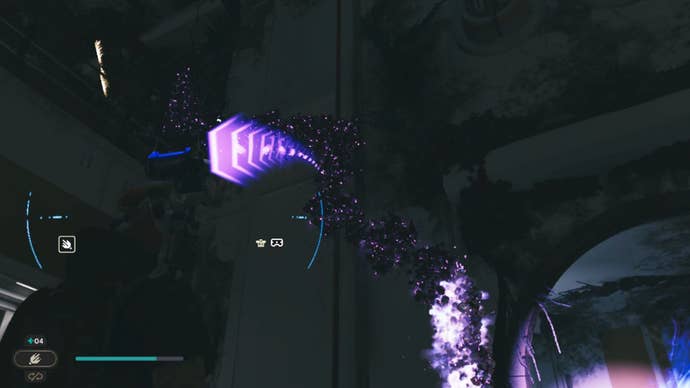
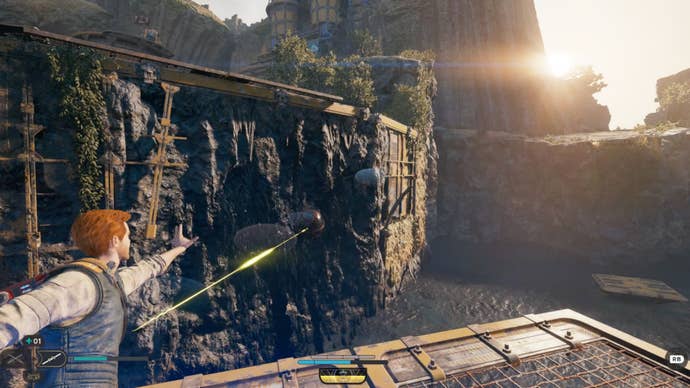
Here, you’ll need to use your Force abilities to move the glowing orbs to reveal secret paths.
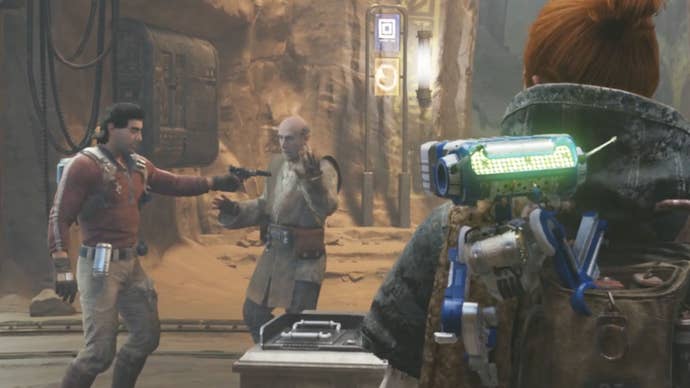
You’ll also meet a friendly droid namedZeeand need to use those orbs to free it.
Complete the puzzle and return to Pyloon’s Saloon.
You’ll then be directed to head to theForest Gate.
Make your way in that direction, taking down thebilemawin the swampy area.
The following section requires a lengthy traversal, including an encounter with an angry creature called amoguand another bilemaw.
Swamp beasts like Jedi just about as much as the Empire likes them, apparently.

Eventually, you’ll encounter a bubbly substance on the ground, which you’ll want to avoid.
Navigate this area by moving the orbs and environmental elements around to create paths toward your destination.
The glider will take you to a backside area of the Forest Array.
Take the glider to the Array’s central platform and enter it.
You’ll then emerge to a fight against Dagan Gera, the game’s primary antagonist.
Exit the area, using the glider to glide to a platform area far in the distance.

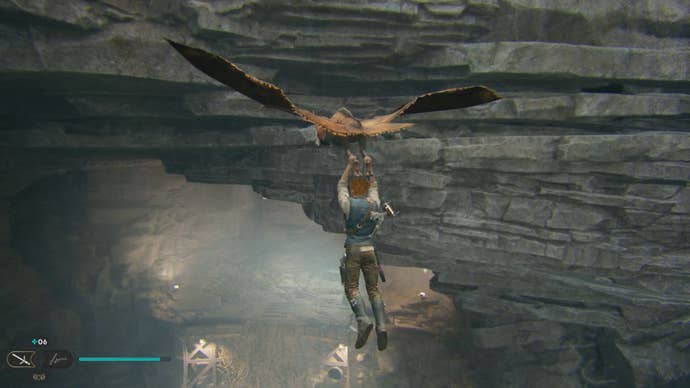
Head back toward the Mantis, learning theNekko Mountskill to grab a little buddy for an express trip.
Once you’ve returned to the Mantis, head to your next destination: Jedha.
Note that you might direct her as you engage in combat.

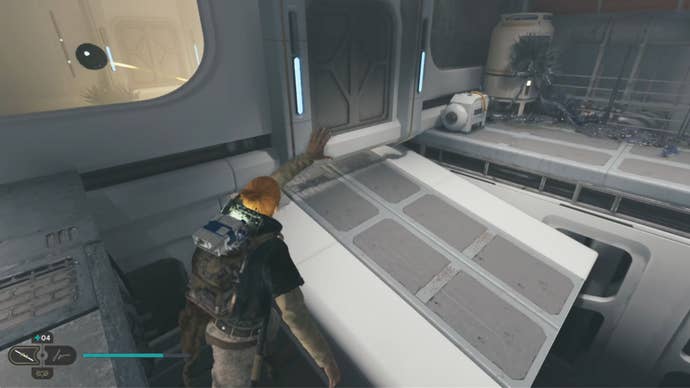
Move the glowing blue block to provide a surface to jump up on the ledge and continue your traversal.
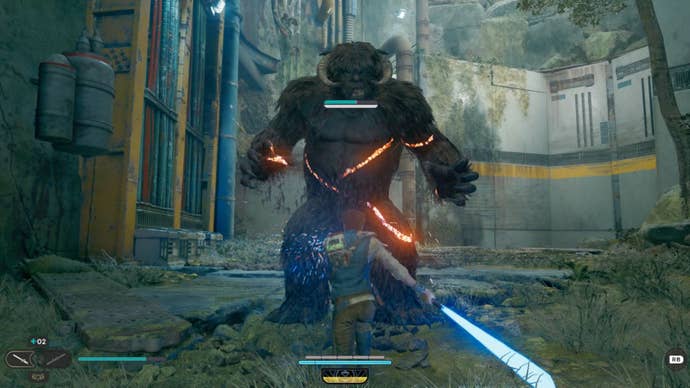
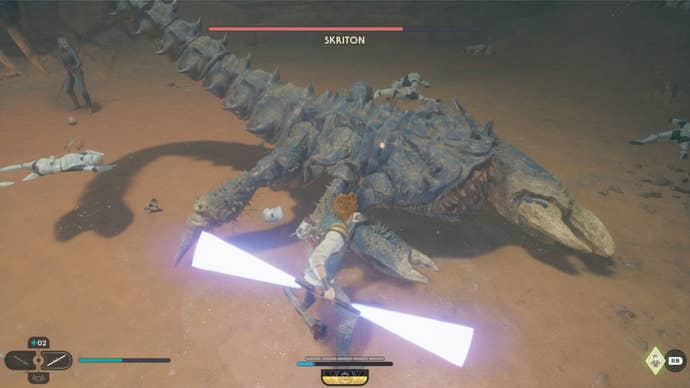
You’ll eventually find yourself in a pit, fighting a boss called aSkritonwith Merrin’s aid.
You’ll then make your way to the spamels, allowing you to traverse the desert.
Unfortunately, your peaceful ride is short-lived, as a sandstorm puts you right into an enemy camp.
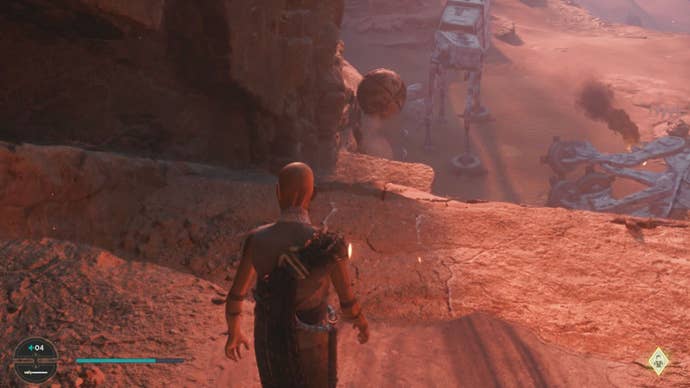
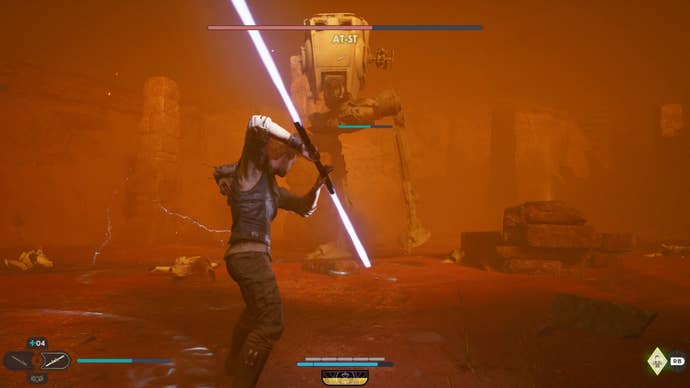
You’ll find yourself fighting some Stormtroopers and anAT-ST. Continue your ascent along grates, ziplines, and wall-running parkour sections.
Just keep your cool and focus on timing everything just right.
Continue ascending via the platforming, grates, and grapple until you reach the next Meditation Point.
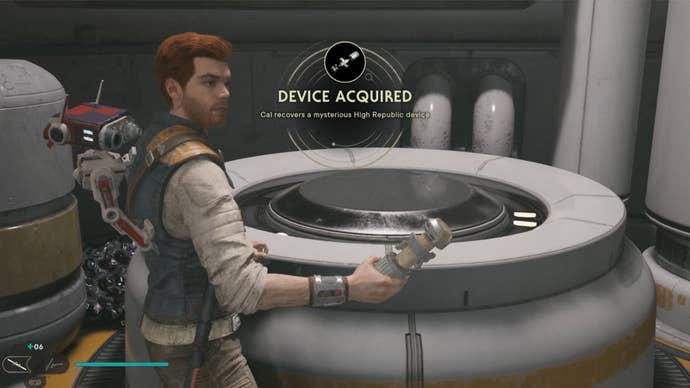
Pick up the mysteriousHigh Republic rig, and trigger your fight againstDrya Thornne.
Make your way through some more enemies as you head back to the Mantis to return to Koboh.
At a waterfall in Riverbed Watch, hitch a ride on agliderto fly to a platform across the way.
You’ll then need to use a combination of gliders and laser mechanics to traverse this area.
But first, you better activate the lasers by getting orbs in the couplers.

This ability allows you to create paths from rock formations to the lasers to clear blocked pathways.
The puzzle series requires moving orbs from several locations into the mountain couplers to scrub the formations.
Completing this will immediately take you to a boss fight against Tague Louesh.
Defeat them, then pick up the mysterious gadget and return to the Mantis.
Jedha walkthrough: Pilgrim’s Sanctuary
With your research findings in hand, return to Jedhas.
The desert is rather vast, so pop open your map and head toward the marked location.

Then, take on the desert creature alongside Merrin and fight theSutabanto continue.
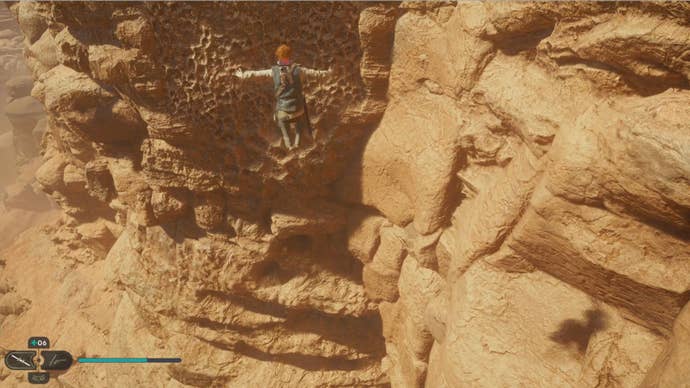
At this point, be prepared to perform significant acrobatics to ascend the mountain.
It’s also relatively easy to backtrack here, so reference your map often.

Pushing it in will give players the boost they need to cross to the following path section.
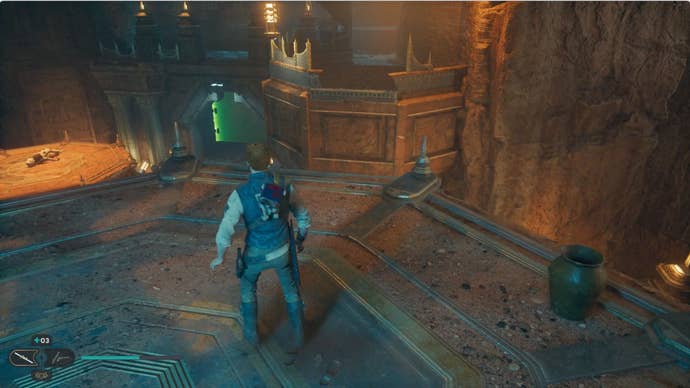
Make your way through Sanctuary Temple, using the vertical wall to assist you downward where needed.
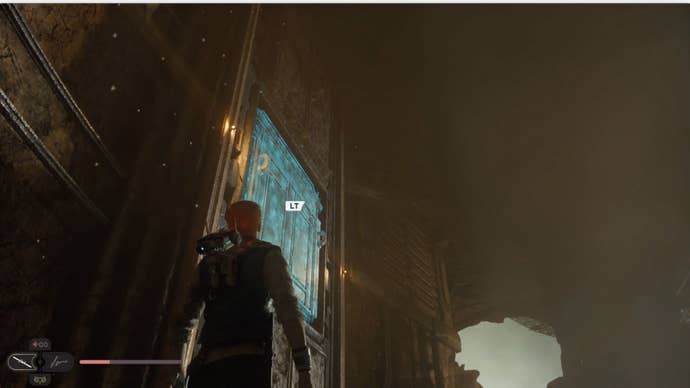
Fight the enemies, and make your way to the barrier door and go right through the opening.
You’ll emerge at a puzzle, which is one of the trickier you’ll encounter in the game.
Then, continue across the desert to return to Cere and the others with the codes.
After a cutscene, you’ll return to Koboh to search for a missing compass.
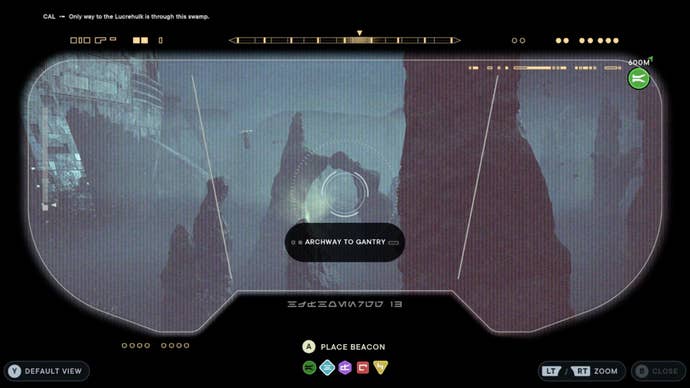
You’re tasked with finding her in the Lucrehulk.
You’ll land on an island, which you must go underneath to make your way to the Gantry.
Then, follow the zipline course to the entryway.
Progress through this series of jumping puzzles and the Hangar Rafters.
It’s easy to backtrack accidentally in this area, so reference your map to stay on course.
Eventually, you’ll rejoin Bode and get eyes on Zee.

Make your way through the facilities and into the Yurt Barracks.
In this segment, he’ll steal a key from you.
In the Forward Control Tower, you’ll free Zee and fight Dagan Gera again.
Unfortunately, he’ll escape.
Now, you’ll return to the Mantis and go to the Shattered Moon to track down Rayvis.
Meditate at the Republic Research Laboratory to prepare to fight Rayvis.

As you ascend, you’ll encounter another Koboh crystal formation mini-puzzle.
Once you reach the center area, you’ll see a cutscene between Dagan and Santari Khri.
This will grant you theupgraded ascension cable, allowing you to grapple onto the floating balloons throughout the facilities.
Use these to climb toward the top of the area to fight Rayvis.
Once you defeat the regenerating renegade, return to the Mantis to trek to Koboh Observatory to confront Dagan.
You’ll eventually find yourself in a downed shuttle.
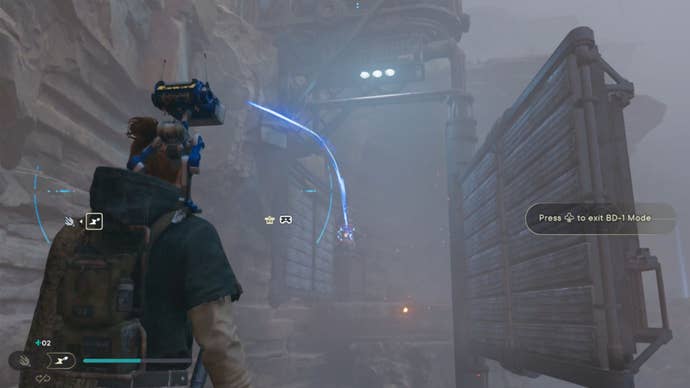
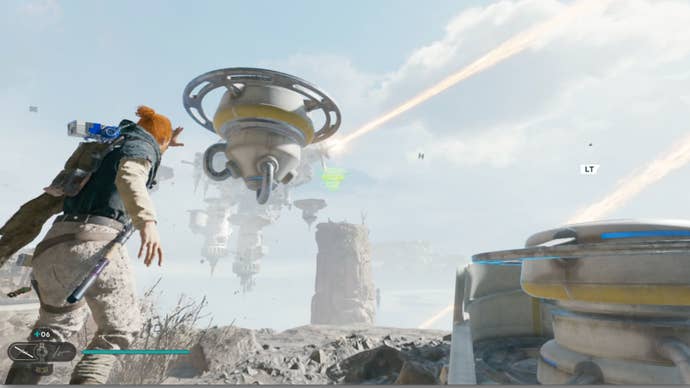
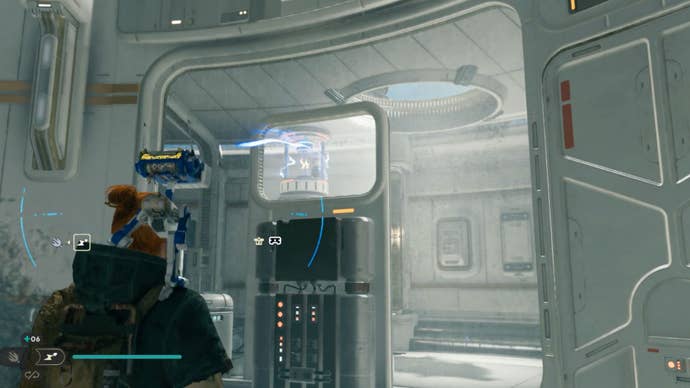
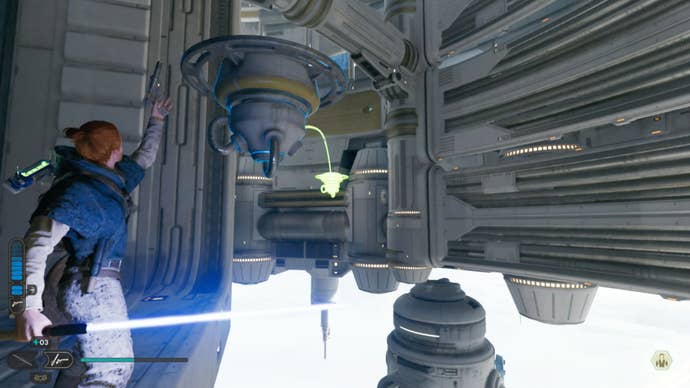
You’ll typically be looking for glowing blue electrical charges in cylindrical casings.
Then, shoot the charges at designated locations to move objects.
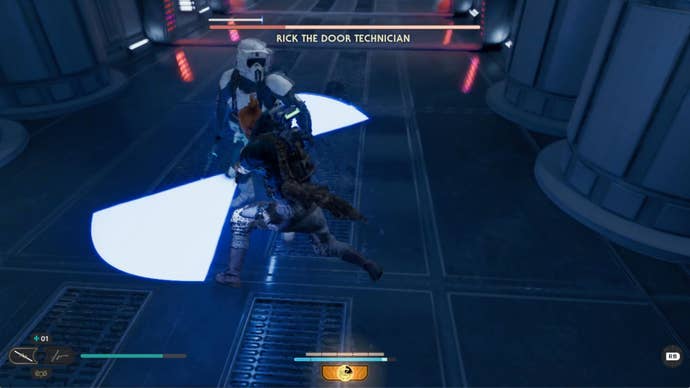
Take weak-minded Rick down in one or two shots before proceeding.
Use the lift to head upward and continue your journey toward the top of the mountain observatory.
Continue making your way through the area and to the ascent on Summer Ridge.
Take the glider to the floating balloons, and use these to make your way to the Observatory Understructure.
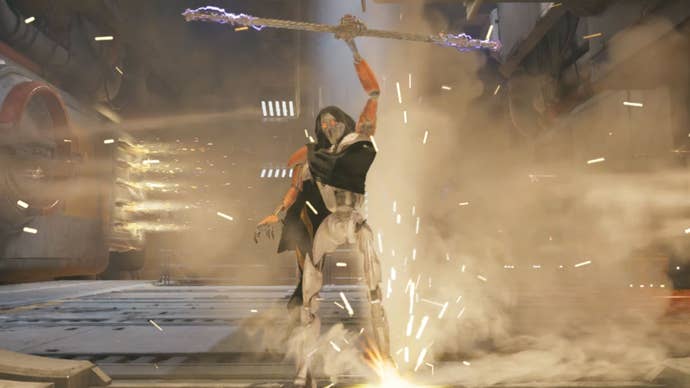
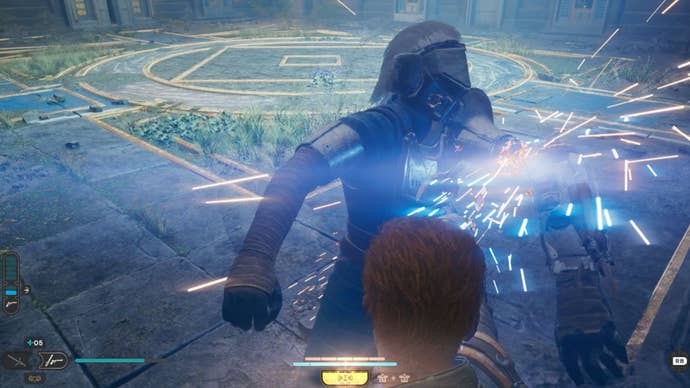
This will take you to a fight againstUrgost, Fist of Rayvis.
Then, use BD-’s Electro Dart where indicated to continue along your way.
Continue onward, and complete the mini-puzzle here.
Or at least maybe, anyway.
Return to Jedha (with a major plot twist): Defend the archives
Hurrah!
You’re back on Jedha, had a little smooch with Merrin, and Cordova has fixed the compass.
Everything’s going great!
Turns out he’s a real piece of shiitake mushroom.
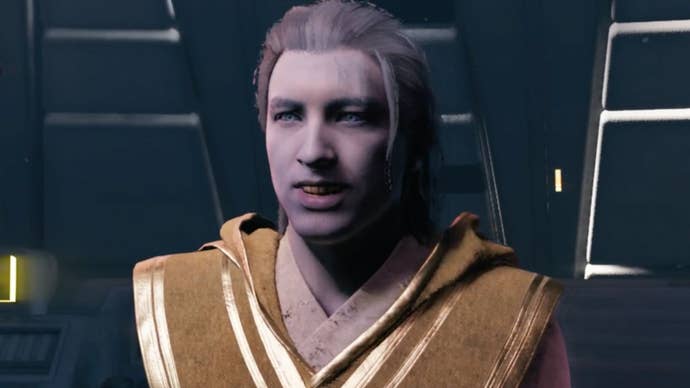
And then, the big reveal: Did you know Mr. Jetpack Suave was actually a Jedi, too?
After the first bit of this fight, you’ll find two walkers attacking the front gate.
Rest at the Archive Vestible Meditation Point and prepare for your next big fight.
Hello, old friend!
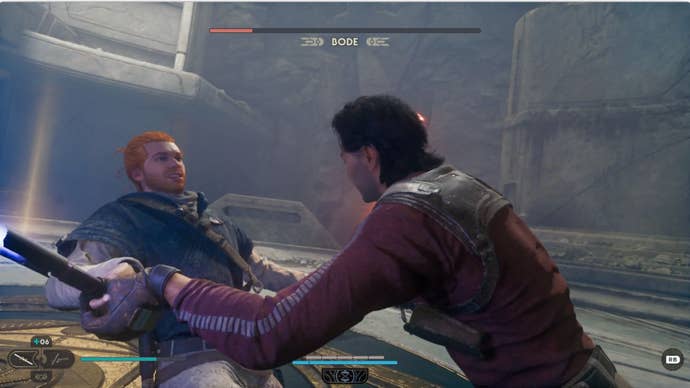
However, it turns out Bode has a tracking unit on his ship, leading you to Nova Garon.
Or, just using the Force to push them off the ledge can solve many problems, too.
Look at your map to navigate the area as needed.
Feeling especially betrayed, Cal now has access to a mega-powerful Darkness power rather than the typical time-slowing ability.
This will take you back to Koboh.
Use your new Darkness power to fend them off.

A cutscene will ensue, and you’ll find yourself in a fight with your former BFF, Bode.
It’s a sad day, but you did what you needed to do.
You’ll then watch the bittersweet ending.
Congrats on navigating all the puzzles, boss battles, and challenges in EA and Respawn’s newest game!
So, return to the other planets and search for newForce Echosand all the goodies you missed.