What are the Jedi Survivor map upgrades?
So let’s stuck into finding each of these map upgrades in turn.
To reach these caverns, first head into Foothill Falls just up the slope from Rambler’s Reach Outpost.
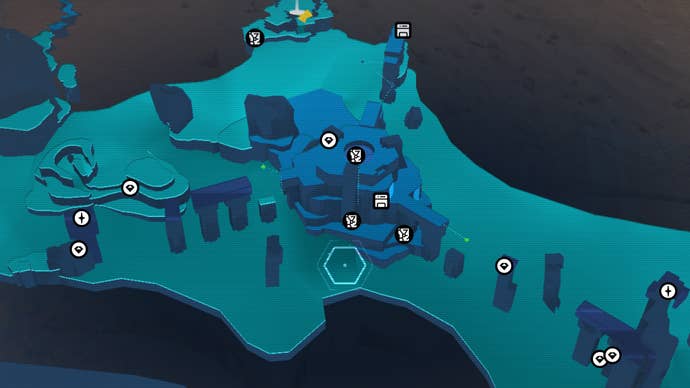
After taking the zipline, turn left and glide with the Relter to the platform with the shack.
Drop down the hole around the outside of the shack to enter the Phon’Qi Caverns.
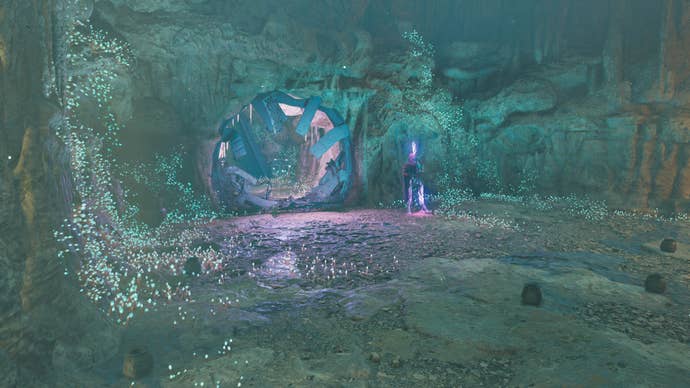
You’ll need to use these balls like Roller Mines to destroy electrical barriers and progress through the Caverns.

Eventually you’ll come to a boss fight where you must defeat three lightsaber-wielding Bedlam Raider lieutenants at once.
After that, head into the next room and climb up the wall.
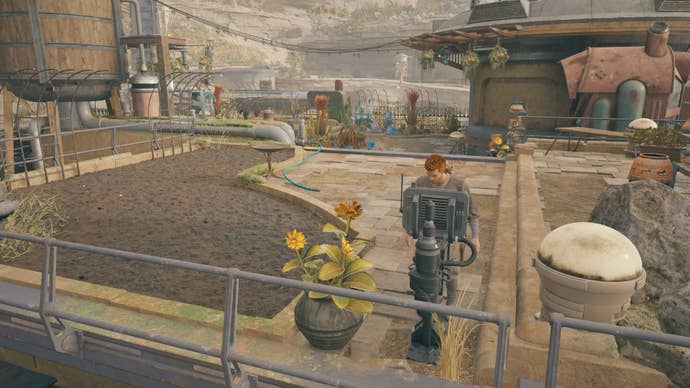
First thing you better do is recruit Pili the gardener, who can be found on Jedha.
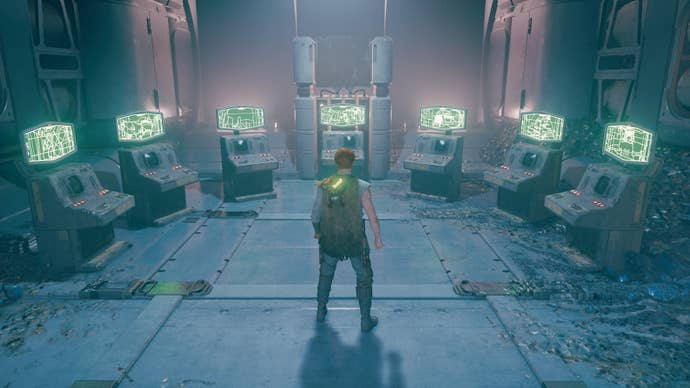
This terminal is very easy to come across, and requires a lot less work than the rest.
Opposite the elevator, go around the left corner and you’ll see the terminal at the end.
Slice it to show all Databanks and Force Echoes on the map forevermore.
Paths are the Jedha equivalent of Koboh’s Meditation Chambers.
There are three: the Path of Conviction, the Path of Persistence, and the Path of Restoration.