You’ve been warned!

Keep scrolling to learn where to find all legendary enemies and hidden bosses in Star Wars Jedi: Survivor.

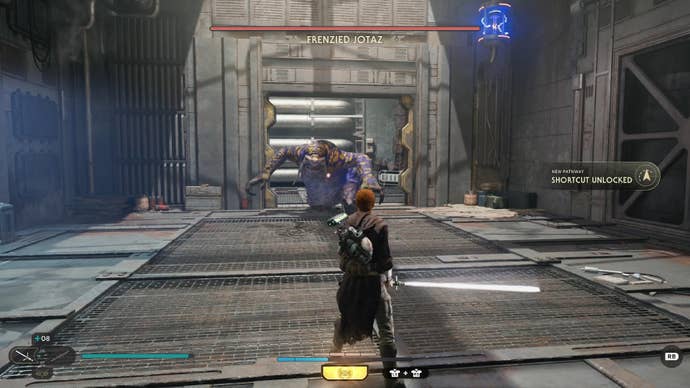
Run straight ahead after spawning and use the lift.

Jedi Survivor image showing Cal slicing a stormtrooper with his yellow lightsaber.

Turn left and head through the door, and then take a right to find a shaking door.

Use BD-1’s Electro-Dart to open this door and fight the Frenzied Jotaz.

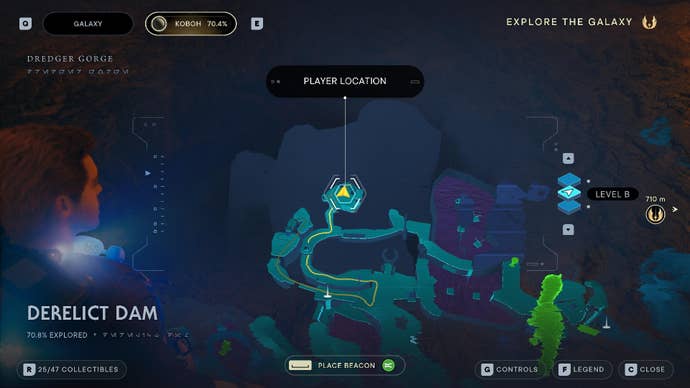
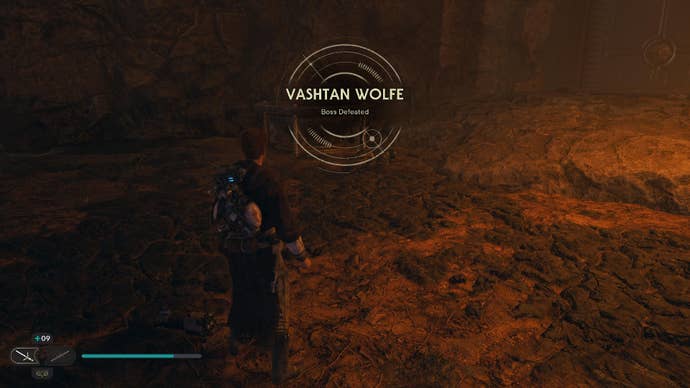
You’ll findVashtan Wolfe’s lairjust ahead.

Cover image for YouTube video

When you reach Vashtan Wolfe’s lair, use the Electro-Dart to pop swing open the nearbyred chest.

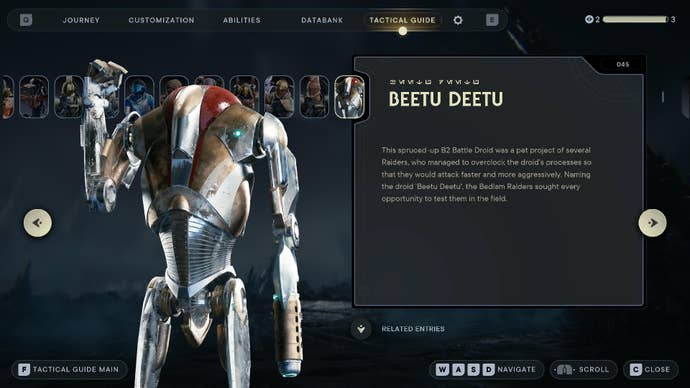
As you head up the path, a pod can drop from the sky on the path ahead.

When it opens, Beetu Deetu will stroll out and start a fight.

Jedi Survivor screenshot showing the location of D-L1T on the map.

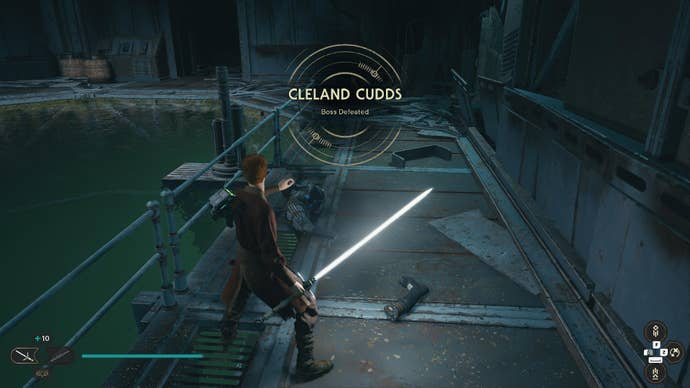
Shortly after emerging on the other side,Cleland Cuddswill ambush you and start this boss battle.

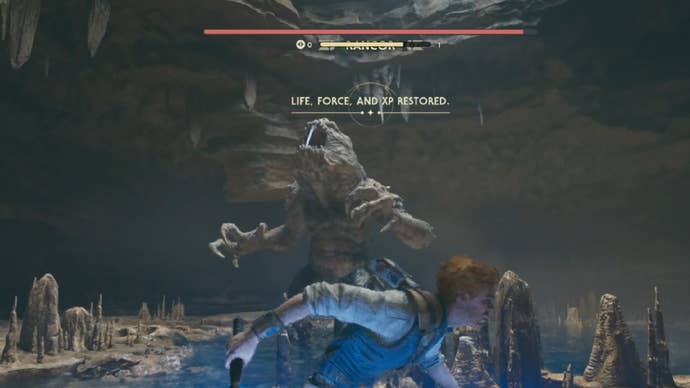
Spoiler alert: it’s home to aRancor.

Head into Sodden Grotto and follow the path around to the end.

Jedi Survivor image showing Cal staring through an open door into a chamber on Coruscant.

This requires Merrin’s Charm, which you’ll unlock later in the story.

On the other side, you’ll find a few B1 Battle Droids andE3-VE3, a Droideka legendary enemy.

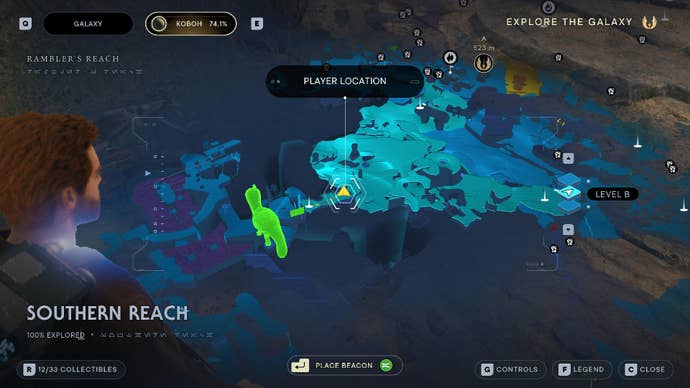
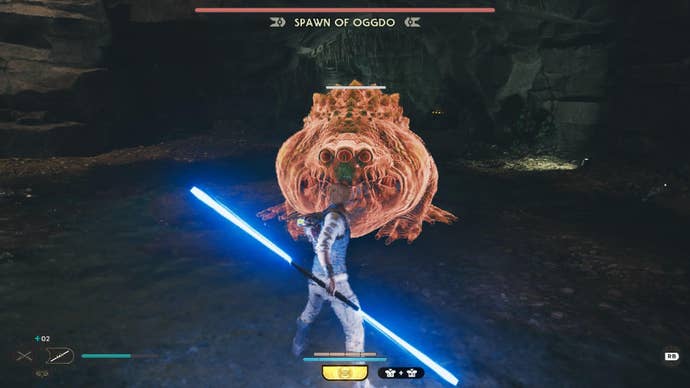
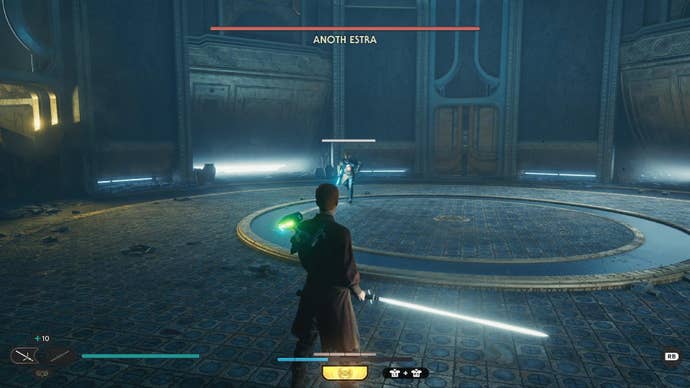
Spawn of Oggdo is found in Fort Kah’Lin, and can be challenged on your first trip to Koboh.

Star Wars Jedi Survivor screenshot showing the location of the Frenzied Jotaz on the map.

To fight Spawn of Oggdo, simply walk onto the circle door.

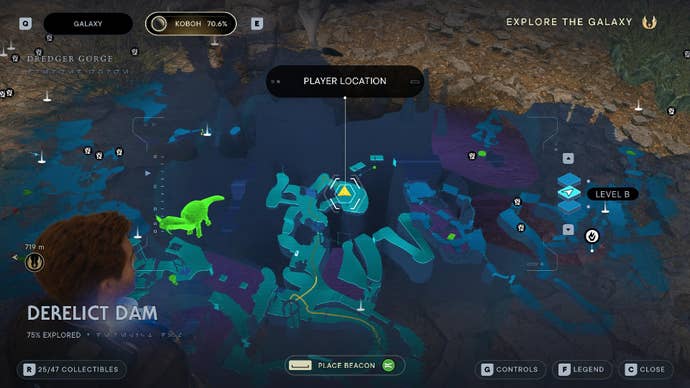
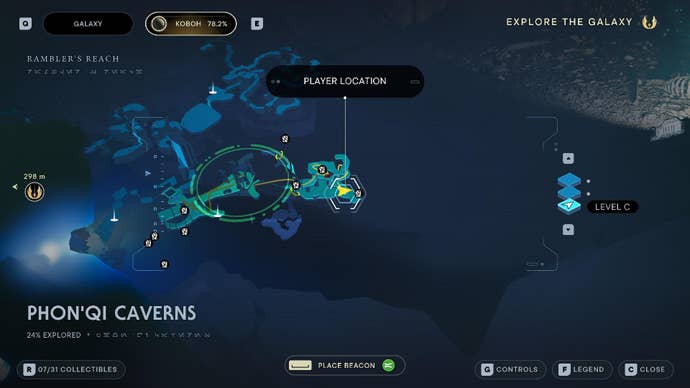
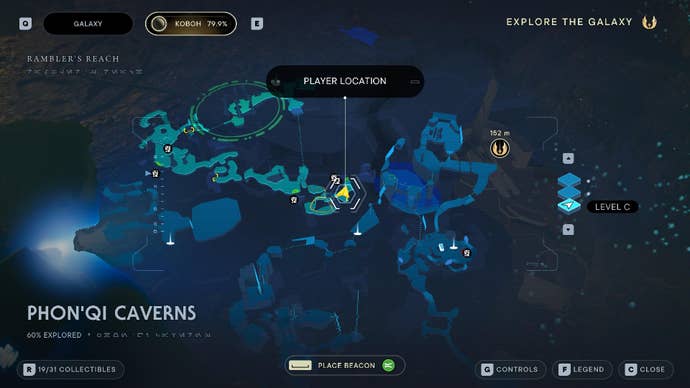
ThisRancoris found in Phon’Qi Caverns, a cave found in the cellar beneath the abandoned shack in Foothill Falls.

Drop down to find the Rancor boss hidden in the pit below.

Star Wars Jedi Survivor screenshot showing Cal facing the Frenzied Jotaz with a lightsaber drawn at his side.

At the top, turn back and Dash across the gap to reach the locked door.

Use Force Lift to unlock the door, and then pass through to start The Massiff boss fight.

Swing across the bog and grapple again to reach the nearby ledge.

Star Wars Jedi Survivor screenshot showing the location of Vashtan Wolfe on the map.

At the top, turn back and Force Lift the platforms out of the swamp and leap across.

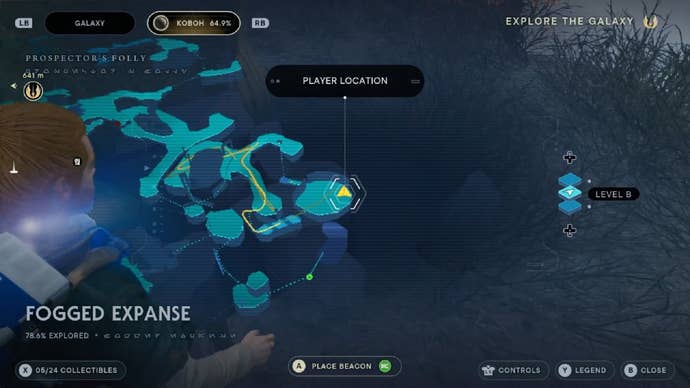
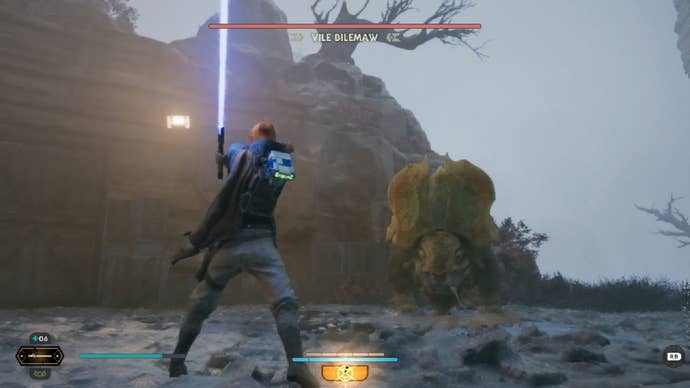
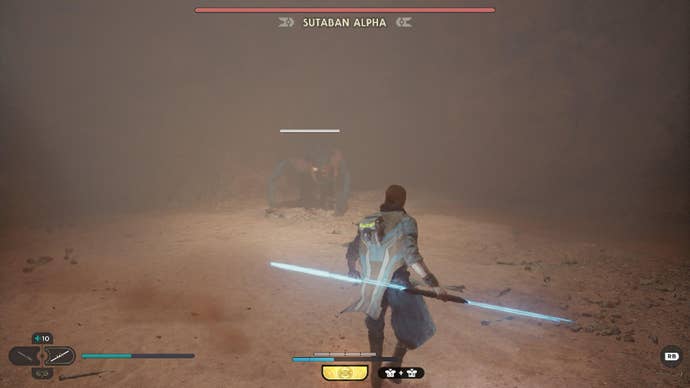
Vile Bilemaw - Fogged Expanse

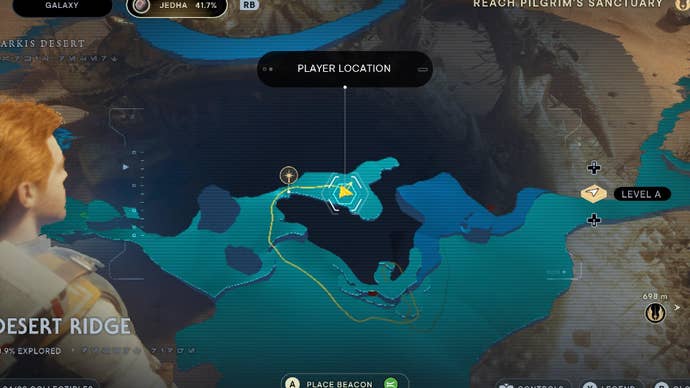
To find theVile Bilemaw, head to the Fogged Expanse Meditation Point.

From there, use the zipline straight ahead and then turn left.

Star Wars Jedi Survivor screenshot showing Cal stood over the corpse of Vashtan Wolfe.

After leaping down a few platforms, you’ll find a slope that you might slide down.

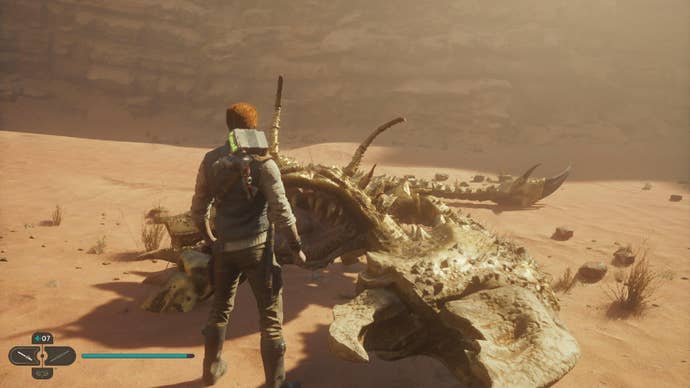
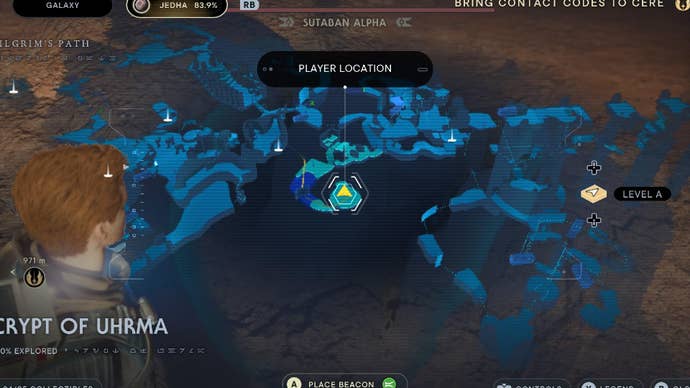
As you travel across the desert, you should spot the green laser door up ahead.

As you emerge on the other side, you’ll enter the Sutaban Alpha’s boss arena.

Star Wars Jedi Survivor screenshot showing the location of the Gorocco Matriarch on the map.

Star Wars Jedi Survivor screenshot showing Cal scratching his head by the corpse of the Gorocco Matriarch.

Star Wars Jedi Survivor screenshot showing the location of Beetu Deetu on the map.

Star Wars Jedi Survivor screenshot showing the Beetu Deetu entry in the databanks, with an image of a Super Battle Droid.

Star Wars Jedi Survivor screenshot showing the location of Cleland Cudds on the map.

Star Wars Jedi Survivor screenshot showing Cal stood by the corpse of Cleland Cudds with his lightsaber drawn.

Star Wars Jedi Survivor map showing the location of the Rancor in Sodden Grotto.

Star Wars Jedi Survivor screenshot showing Cal running as a Rancor staggers with a bone in its mouth.

Star Wars Jedi Survivor screenshot showing the location of E3-VE3 on the map.

Star Wars Jedi Survivor screenshot showing the databank entry of a Droideka named E3-VE3.

Star Wars Jedi Survivor screenshot showing the location of Spawn of Oggdo on the map.

Star Wars Jedi Survivor screenshot showing Cal wielding a double-bladed lightsaber, facing the Spawn of Oggdo as it glows red.

Star Wars Jedi Survivor screenshot showing the location of the Rancor on the map.

Star Wars Jedi Survivor screenshot showing Cal wielding a lightsaber as he faces a Rancor.

Star Wars Jedi Survivor screenshot showing the location of Erjef Mekor on the map.

Star Wars Jedi Survivor screenshot showing Cal wielding a white double-bladed lightsaber as he fights a Bedlam Raider, who holds a green double-bladed lightsaber.

Star Wars Jedi Survivor screenshot showing the location of the Massiff on the map.

Star Wars Jedi Survivor screenshot showing the databank entry of The Massiff, a modified Magnaguard.

Star Wars Jedi Survivor screenshot showing the location of Anoth Estra on the map.

Star Wars Jedi Survivor screenshot showing Cal wielding a white Crossguard lightsaber as he faces Anoth Estra.

Star Wars Jedi Survivor screenshot showing the location of the Mire Terror on the map.

Star Wars Jedi Survivor screenshot showing Cal stood by the corpse of a Mogu in the swamp.

Star Wars Jedi Survivor screenshot showing the location of the Vile Bilemaw on the map.

Star Wars Jedi Survivor screenshot showing Cal stood holding a blue lightsaber up in the air, facing the Vile Bilemaw.

Star Wars Jedi Survivor screenshot showing the location of the Golden Skriton on the map.

Star Wars Jedi Survivor screenshot showing Cal stood by the corpse of the Golden Skriton.

Star Wars Jedi Survivor screenshot showing the location of the Sutaban Alpha on the map.

Star Wars Jedi Survivor screenshot showing Cal wielding a double-bladed blue lightsaber and running towards the Sutaban Alpha.