Simply put, you should shoot enemies in their weak spot, and avoid shooting them in their carapace.
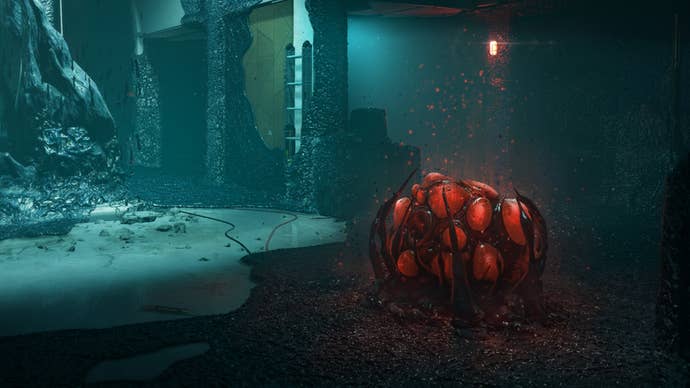
Nests start off dormant, and can be safely shot to destroy them.
Don’t worry, they won’t wake up when you shoot them.

The only way they can be woken up is if a nearby Archaean notices you.
After a moment, the Archaean will howl, awakening nearby Nests and calling nearby enemies.
Blinding Spore
Blinding Spores are more of an environmental hazard than an enemy in their own right.

Fortunately, Blinding Spores are easily dealt with.
This mutator should definitely make you think twice about using melee stealth attacks.
Fortunately they’re pretty easy to spot.
If you start shooting them, they’ll fall to the floor and divide into four smaller Sludges.
Still not very threatening.
Shoot each of the four mini-Sludges once to kill them.
Much like Blinding Spores, Sludges are more like environmental hazards than actual enemies.
Check the ceilings and you’ll be fine.
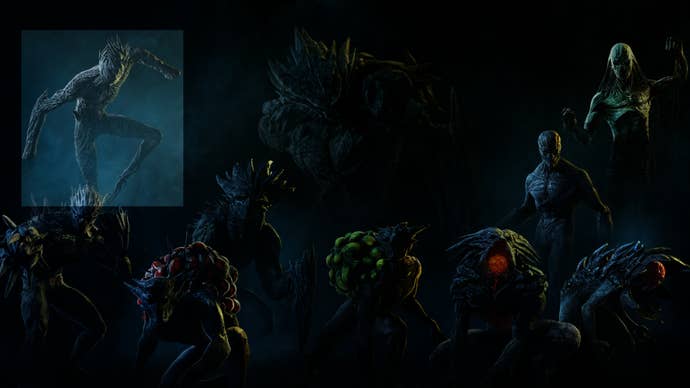
A single shot to the head with any gun in the game will kill a Grunt.
That’s not to say Grunts can’t be dangerous.
In packs, they can be a real threat to your squad unless you kill them quickly.
Therefore, it’s best to take them out from a distance.
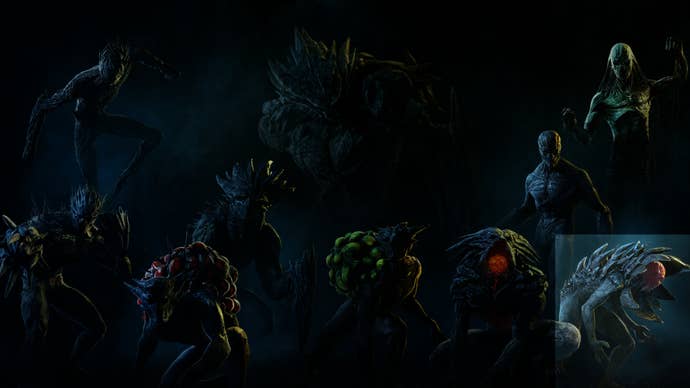
Fortunately, Breachers have the largest weak spot in the game: their Dorsal Hump.
Shoot it once and it’ll explode, killing the Breacher.
Be careful you don’t detonate them while they’re too close to you or a teammate, mind.

But you might also use Breachers' potential for collateral damage to your advantage.
The same result occurs if you sneak up and deal a silent melee takedown on them.
It can be irritating, but still not a huge threat.
Simply wait for the toxic cloud to disperse, and continue on with the mission.
Spiker
Spikers represent a fairly significant step up in threat from ordinary Grunts.
So if you engage an alerted Spiker, it’s a good idea to do so from behind cover.
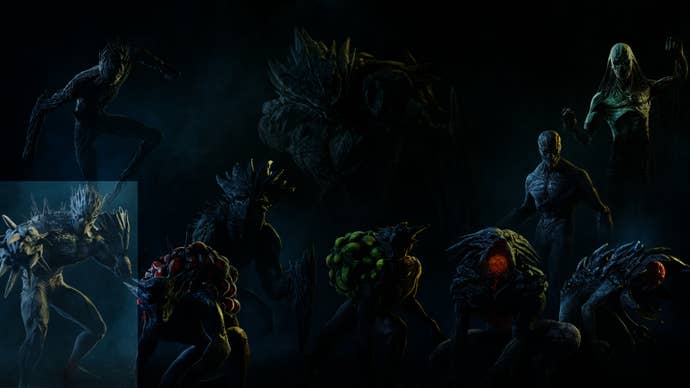
The Spiker’s weak spot is its head, same as the Grunt.
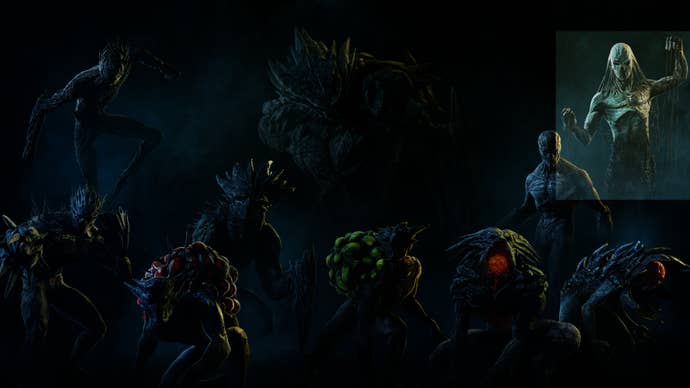
These bothersome Archaeans can turn themselvesand nearby enemiesinvisible.
Lurkers themselves will rarely attack you directly.
You should ideally wait for the flower to unfurl and the head to be reveled before shooting it.
Remember, just because they have a weak spot doesn’t mean you always have to use it.
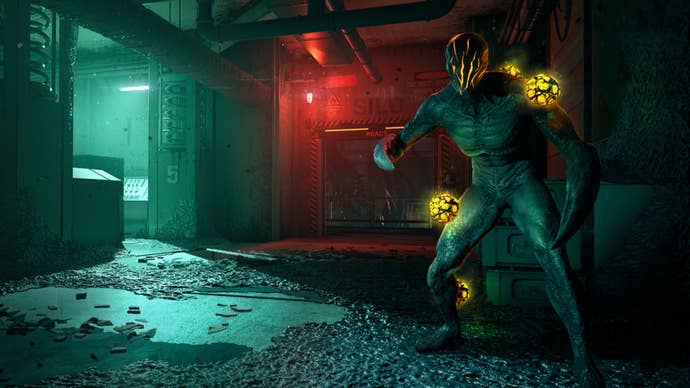
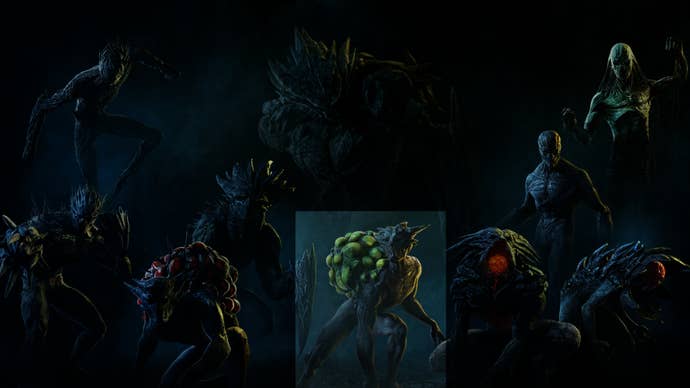
Sower
Weak spot:Stomach
Sowers, like Lurkers, prefer not to attack you head-on.
Fortunately these mines can be destroyed with a single shot from any gun, much like a Blinding Spore.
This is the best time to dispatch them.
Otherwise, they make take a few shots to kill thanks to the carapace around their head and limbs.

Despite their size they are very swift movers.
They attack by firing glowing projectiles at you, which deal significant damage.
Smasher
The Smasher is the tankiest normal enemy in Rainbow Six Extraction.
Its hardened carapace coats almost every part of its body, and renders it invulnerable to normal damage.
If you’re caught in the charge, you will be dealt massive damage.
Fortunately, this charge is what makes the Smasher possible to deal with.
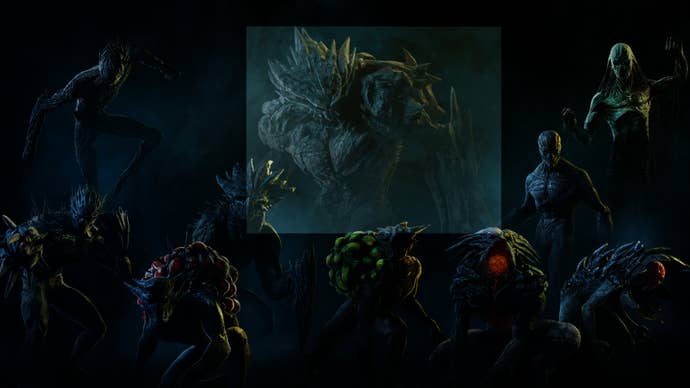
The only way to kill a Smasher is via the weak spot in its back.
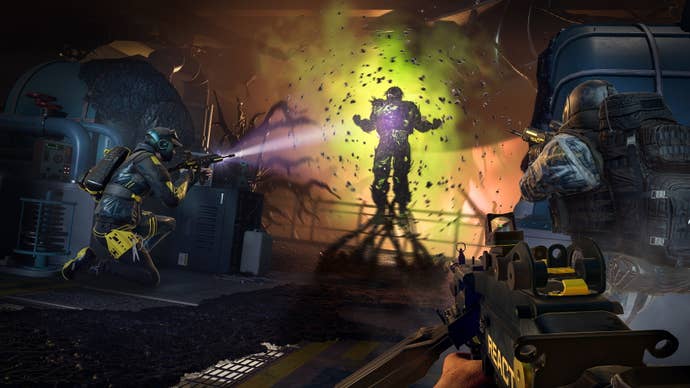
But if you’re playingRainbow Six Extraction solo, an Apex can mean very bad news.
The Protean is a mysterious top-tier Archaean that mimics one of a handful of Operator types.
We’ll update this guide as we learn more about the different possible Protean variants.
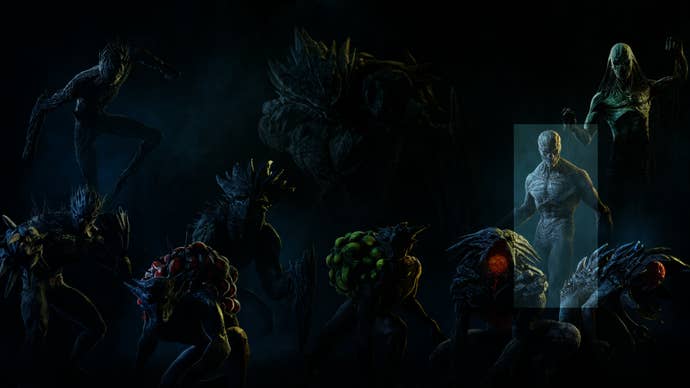
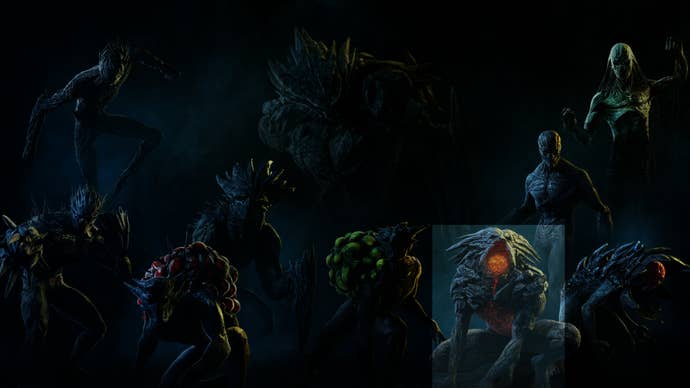
Hopefully this guide has answered a few of your burning questions about certain enemies.