You’ll also encounter manymonstersyou’ve once fought before and a new one too.
Chapter 5-2 finishes strong with a tough fight and a new status effect as well.
Continue reading for what Hunter Rank you gotta make progress.
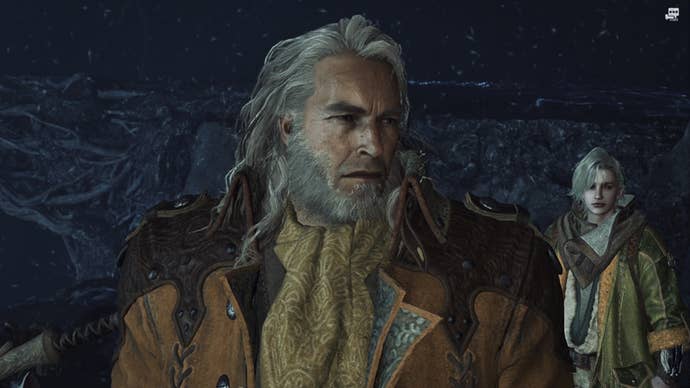
In a discussion with Fabius, we learn the Frenzy Virus is indeed here.
But don’t worry, we’re not grinding more Hunter Ranks quite yet.
This Monster Hunter Wilds walkthrough proceeds in the following order.punch any of them to jump to that section.

Take this moment to prepare for your next hunt.
We’re throwing it back toChapter 2-2giving Rey Dau another go.
Bring Nulberries, a Pitfall Trap, Flash Pods, and any other useful items for buffing your stats.
Also, Rey Dau is vulnerable to the Water and Ice elements.
Once you’re ready, talk to Alma and make your way to the Kunafa village.
You’ll find Y’sai and Zatoh before heading to the Rey Dau fight.
If you want the slightly more in-depth walkthrough it’s possible for you to checkChapter 2-2.
This is when we first fought Rey Dau.
It’s time to see who we’re fighting next in the Scarlet Forest.
For preparation, you’ll need Nulberries, traps, Flash Pods, and items to buff your stats.
Don’t forget to eat as well if you don’t have an active food buff.
For those who like to bring the right weapon element, the next monster is vulnerable to Thunder.
When ready, talk to Sassafril to journey into the next fight.
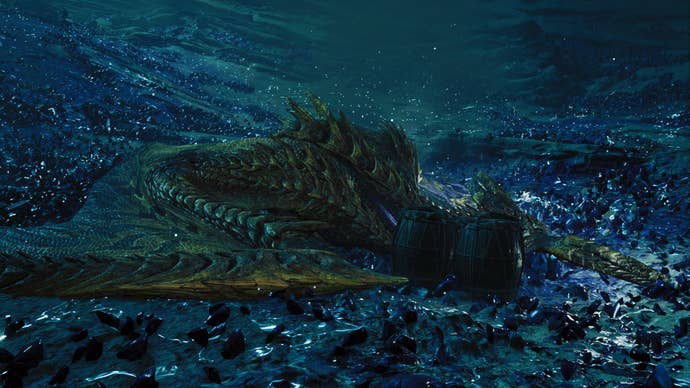
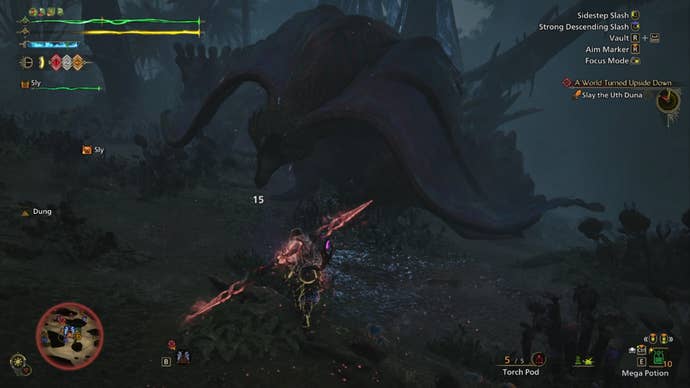
Once the conversation ends, it becomes clear we’re returning tofight the Uth Duna.
Our original guide is back inChapter 1-5.
Here are the quick tips that you’re gonna wanna know.
Slaying the Uth Duna completes the Scarlet Forest portion of A World Turned Upside Down.
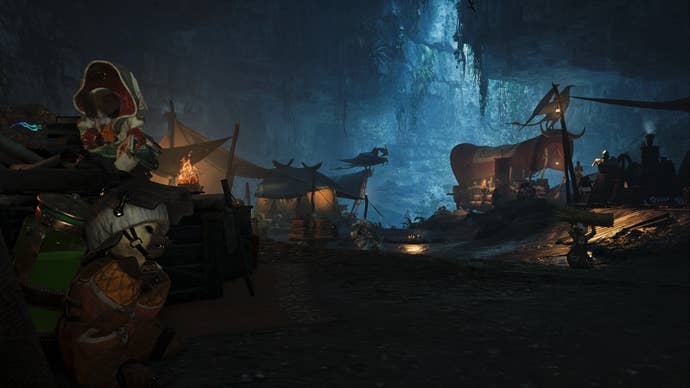
After a cutscene with the Wudwuds, we make our way to the Oilwell Basin.
Before doing so, do the usual preparation, like upgrading your gear and resupplying.
You’ll need Nulberries, traps, Cool Drinks, and items to buff your stats.
This monster is vulnerable to the Water element.

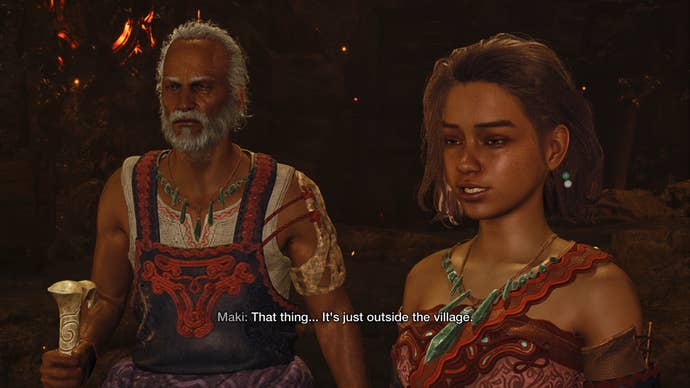
Speaking with Maki reveals that the Nu Udra, formerly known as The Black Flame, is acting differently.
Unfortunately, they’re right outside Azuz and need to be dealt with.
Fortunately for us, we don’t have to run far to get into a fight.
Get ready for another bizarre tentacle creature fight using these quick tips.
Slaying the Nu Udra finishes the third portion of A World Turned Upside Down.
We’re not quite done yet as a new objective sends us to the Iceshard Cliffs.

That should tell you we’re in for a big one.
After speaking with him once, you’ll have a chance to prepare before talking to him again.
Each one is vulnerable to those two elements, while only one of them is vulnerable to Dragon.
When you’re finished preparing, speak with Fabius to jump into the next hunt.
Continue reading to find tips for both monsters in their own section.
Attacking will prevent it from building up once it’s on you.
Otherwise, you could use Nulberries to remove it.
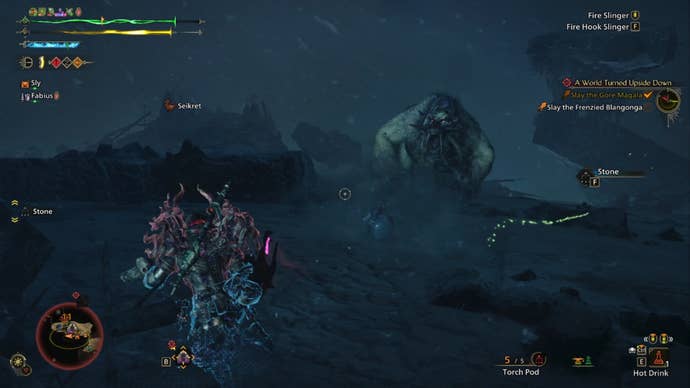
Shortly into your encounter, a Frenzied Blangonga will appear, but they’ll run away.
If you want to speed this up, you’re able to hit them with a Dung Pod.
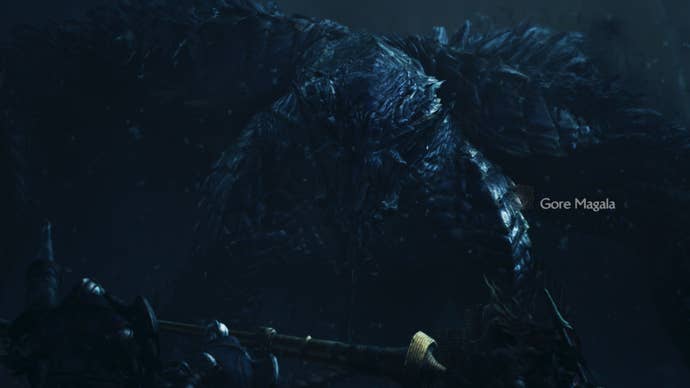
Then, work with Fabius to slay the Gore Magala before chasing the Blangonga.
A good position while fighting Gore Magala is underneath them.
you’ve got the option to hit a good portion of their body while avoiding Frenzy projectiles.
However, Gore Magala can still hit you with certain attacks like charging forward.
Similar to other monsters, Gore Magla has an enraged state but they’ll instead become Frenzied.
While it won’t be easy, damaging their head can end their Frenzy.
Other breakable parts include their wings.
In addition to those parts, their mouth is a weak point and their tail is severable.
But they have many basic moves where they’ll hit with their claws or wings forward.
However, they’re a bit difficult to see where they’re going to land.
After slaying Gore Magala, get your carvings and then track down the Frenzied Blangonga.
While I can’t confirm it here, the Frenzied Blangonga goes down fast.
But, they’re vulnerable to both trap types if you still have either.
As it goes with any monster, break those wounds to stun them.
Continue onto theChapter 5-3Monster Hunter Wilds walkthrough for more grinding.
Find out what Hunter Rank you’ll need next.
