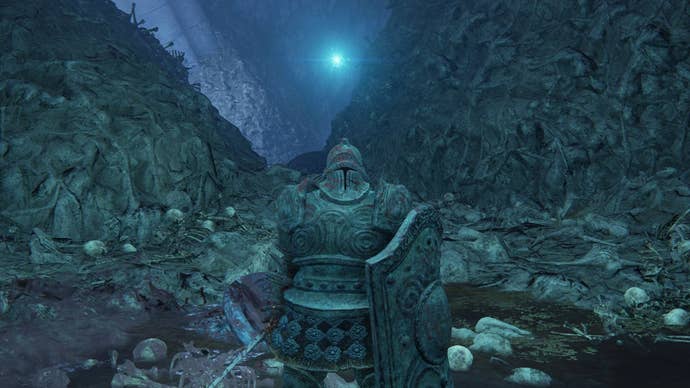
Slap on your best helm and get ready to ignore the lamentations that give this dungeon its name.
Lamenter’s Gaol walkthrough
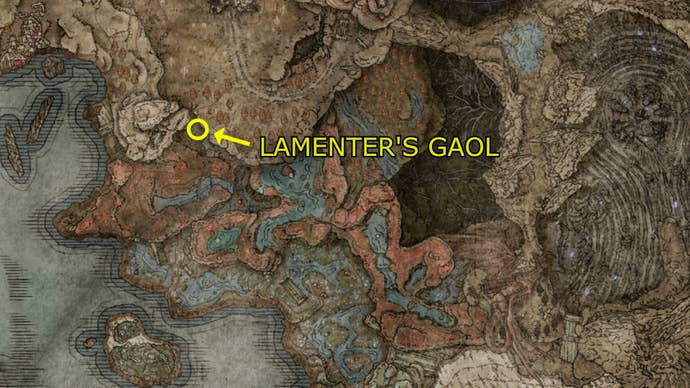
You’ll need to accessCharo’s Hidden Gravefirst to enter Lamenter’s Gaol.
Eventually you’ll come across scattered cages on the ground that mark the gaol’s entrance.
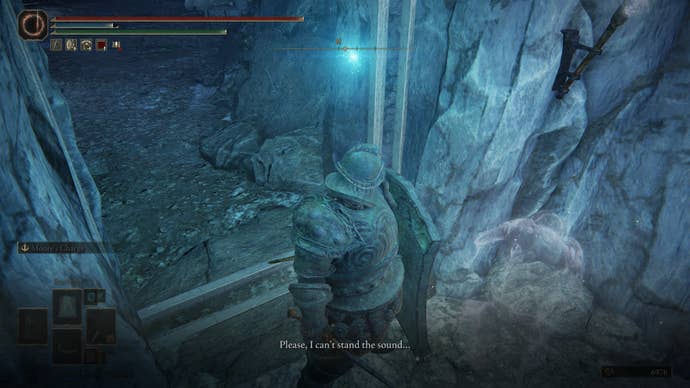
Upon entering, head down the pathway and you’ll see a locked metal gate.
Pick up theFrozen Maggoton the ground and explore the neighbouring room.
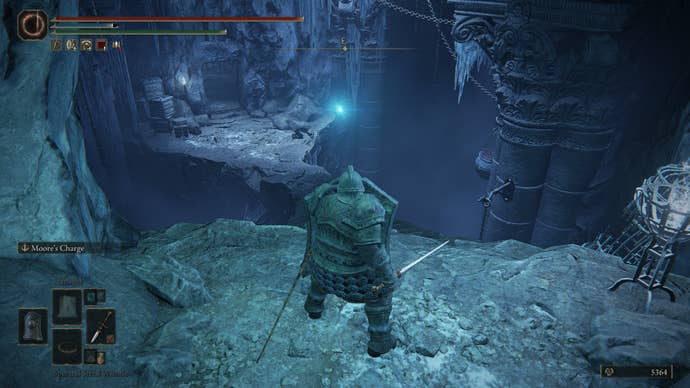
You’ll be in a larger room with a narrow bridge overlooking a chasm.
Go back the way you came to the gate and use the Gaol Upper Level key to open it.
A Jar Innards will dash out from your right.
Make short work of it and explore the room it came from.
You’ll find two Shadows there and aChilling Perfume Bottle.
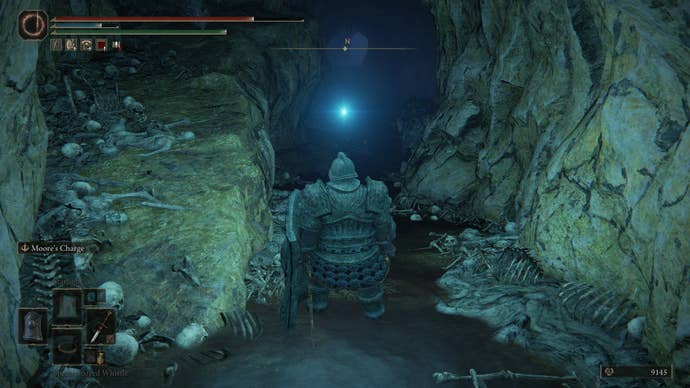
You’re now in the sewer caverns beneath Lamenter’s Gaol.
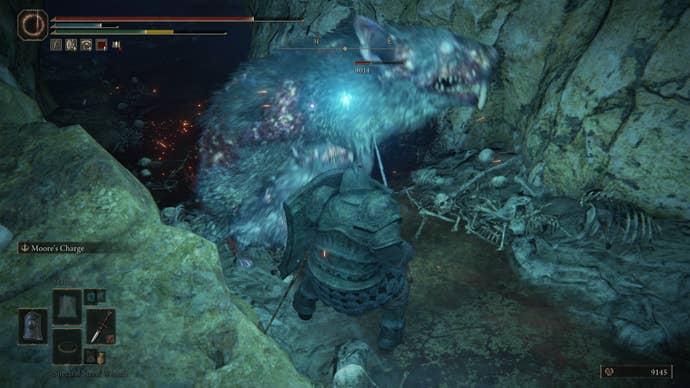
You’ll spot two giant rats after you touch the ground.
A Jar Innard awaits on top; kill it and enter the room.
Roll to keep from getting grabbed and dispatch these miscreants.
Climb the stairs, taking out the Shadows along the way.
Skip the first doorway you see; we’ll come back to it soon enough.
ALiving Jar Shardis on a corpse here, and a chest contains theGaol Lower Level key.
Inside you’ll find a room with Two Shadows and aCall of Tibia.
The next room has aShadow Realm Rune [4]and aLamenting Visageon the ground.
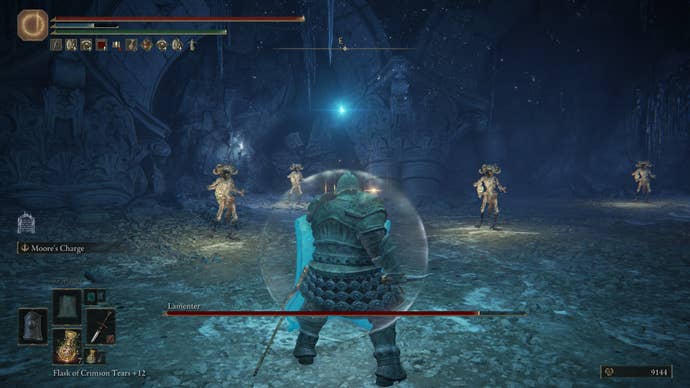
Go down and you’ll be in front of the boss door.
Eventually he’ll wail and disappear.

When he appears next, he’ll be with his clones.
Target the clones one by one and quickly kill them.
If some remain, a little Lamenter mask will appear around your Tarnished’s head.
You’ll instantly die if seven masks ever appear around you, and these stacks do not expire.
A good summon can help make this fight less tedious by taking out Lamenter’s clones for you.
Upon defeating Lamenter, you’ll get160,000 RunesandLamenter’s Mask.
A teleporter will appear to take you back to the start of the dungeon.
That finishes our look at Lamenter’s Gaol.
