Note: Spoilers follow, obviously.
You’ve been warned.
But if you’d prefer a written walkthrough, we’ve got that too!
Shoot an arrow at the target to reverse the air’s direction.
Now you’ll be able to glide across to the far side of the gap without losing any altitude.
That’s the key mechanic of the Vault of Hephaistos.

Shoot an arrow at these targets to reverse nearby air currents and glide to previously inaccessible areas.
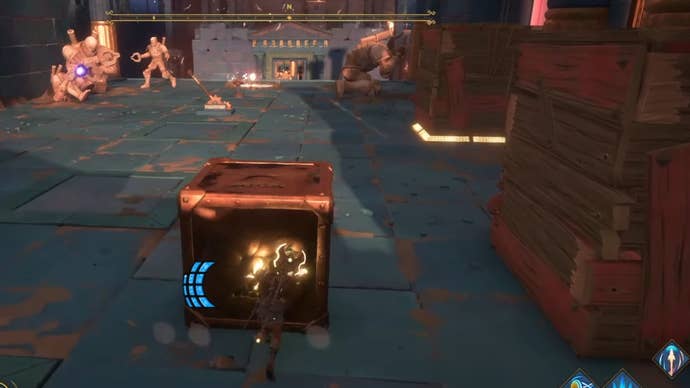
This done, you might roll the ball up the ramp and into the tiny area opposite the lever.
Now pull the lever to incinerate the ball and turn it into flaming coal.
Let’s go left first.

Shoot an arrow at these targets to reverse nearby air currents and glide to previously inaccessible areas.
Be careful of the current as it’ll make a run at push you off-course while you glide.
But once you’ve opened the chest, return to the checkpoint.
Press the button and you’ll see a very similar puzzle to the one before.

The left path involves using air currents to push wooden cubes, and trapping them in place with heavy cubes.
Then jump over to the lever.
double-check the air current is blowing right, then pull the lever.
This will push the wooden cube nearest you.

There’s a chest hidden behind the left wall in the second puzzle section of the left path.
Then roll the ball over the cube onto the next platform.
Then pull the lever again to lock it in place.
Now push the heavy cube onto the weighted pressure plate to raise the bridge across.

The ball’s path along the top must be completed by pushing the cubes below into place.
Roll the ball across this bridge and onto the other side.
Roll the ball into the socket to finish the section.
A new ball will spawn in front of you.
Push the heavy cube next to the final pressure plate to trap the wooden cube in place.
Push it down the path until you reach the incinerator at the beginning.
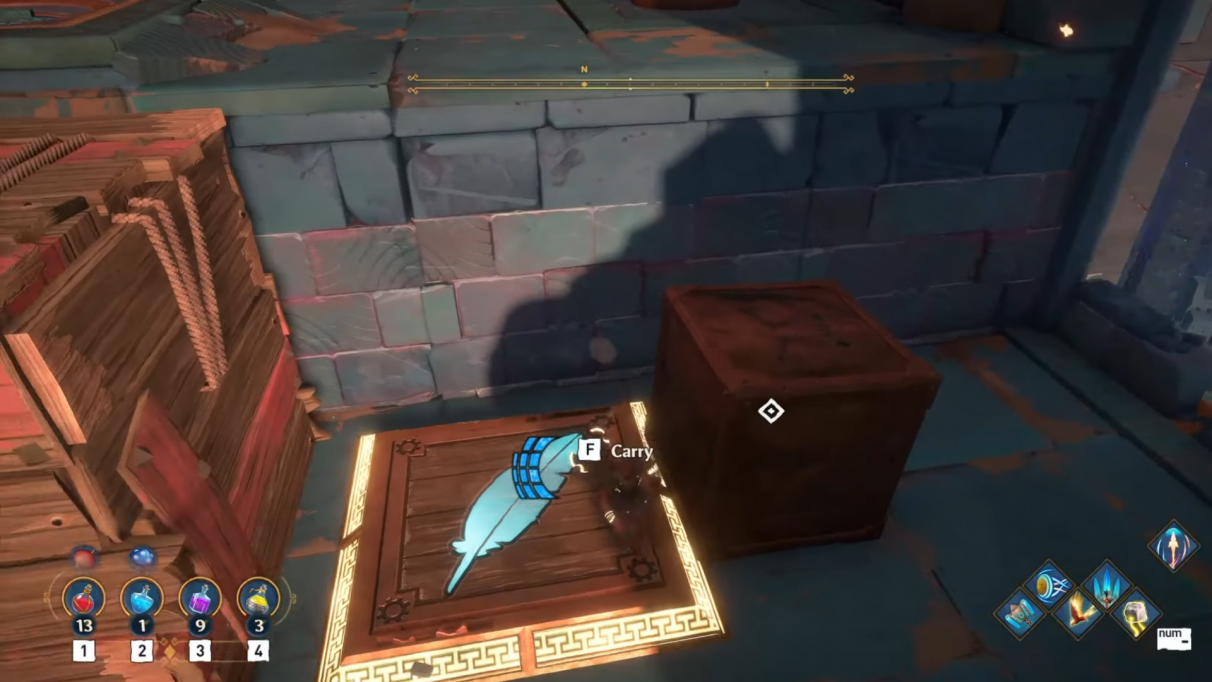
The final ledge has a hidden chest you’re able to pick up.
Climb the platforms up and reverse the air current at the top.

The hidden ledge in the corner of the central platform is circled in red. Follow this ledge down to reach a hidden chest.
Now you have to climb on top of the heads so you can reach the next platforms.
Do this until you reach the very top.
Pull the bottom lever, then glide up to the opposite lever above and pull it.

The right path is primarily an obstacle course. You must time your glides to avoid the lasers and other obstacles.
Then turn around and glide up again to the opposite lever above and pull.
Polyphemos uses almost exclusively unblockable attacks, so you’ll need to dodge lots in this fight.
With Polyphemos defeated, glide across to the west to retrieve the last aspect of Hephaistos’s Essence.
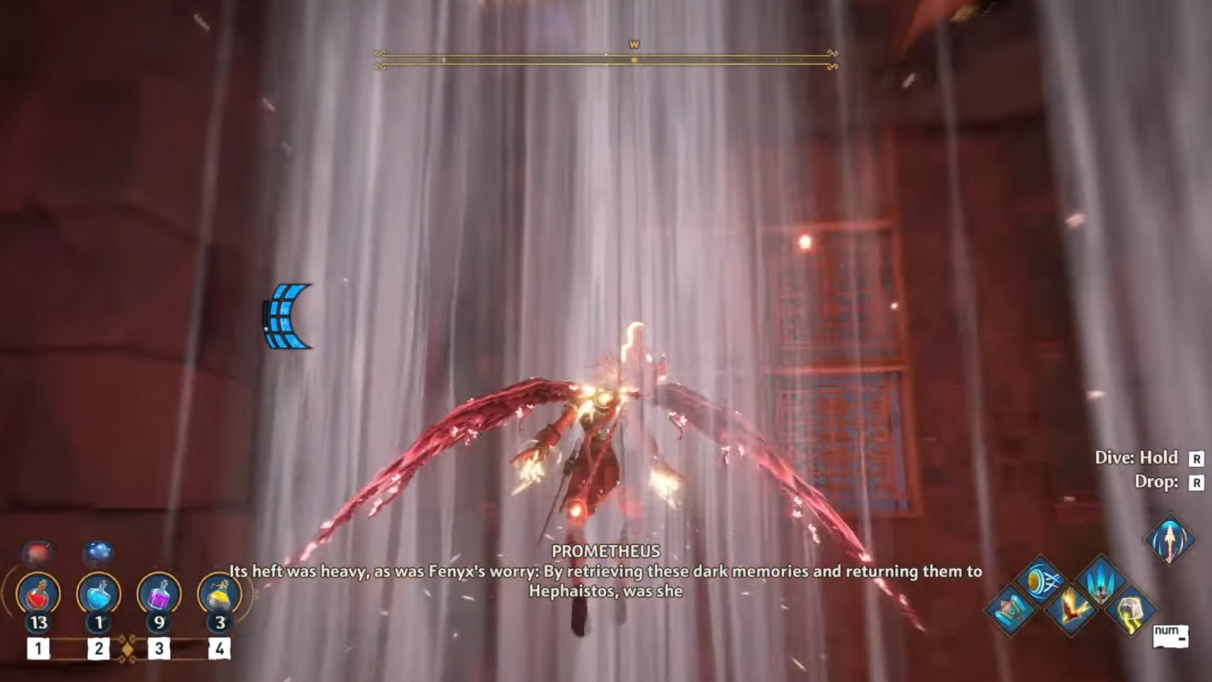
The centre of the Vault carries you upwards with a giant air stream, but you must pull levers in the right order along the way.
And that’s all there is to breaching the Vault of Hephaistos and retrieving the titular God’s essence.
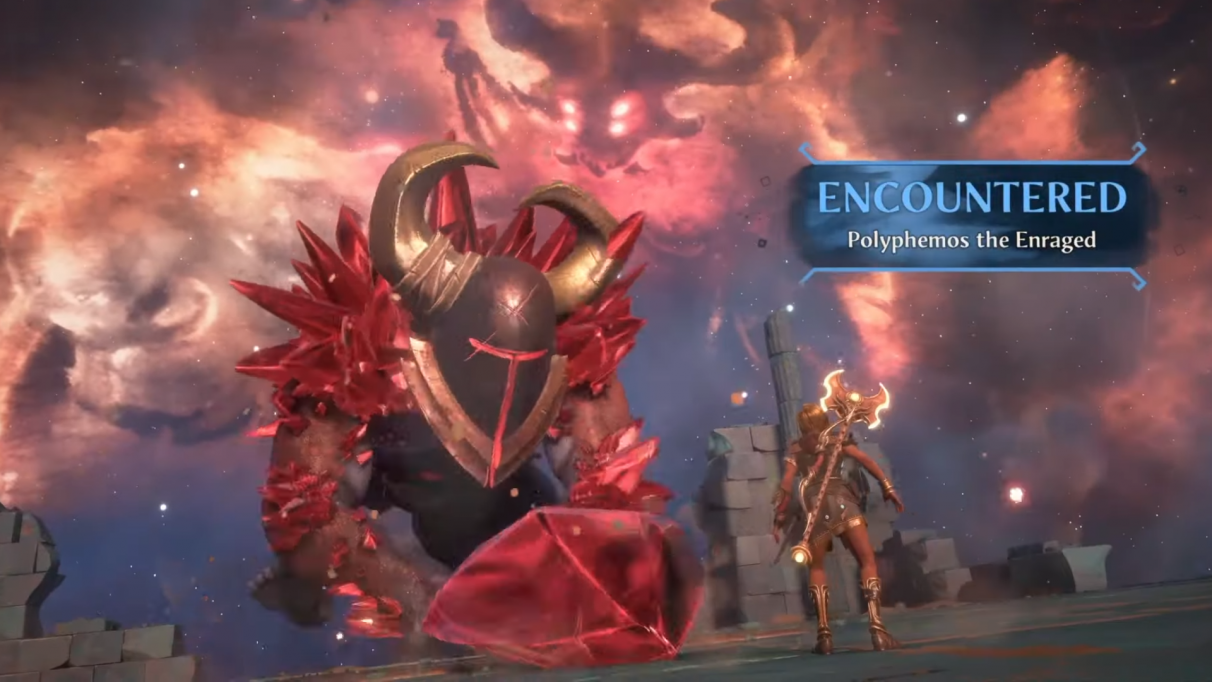
Polyphemos the Enraged is the boss of the Vault of Hephaistos. He uses lots of unblockable attacks, so dodging is a must.
