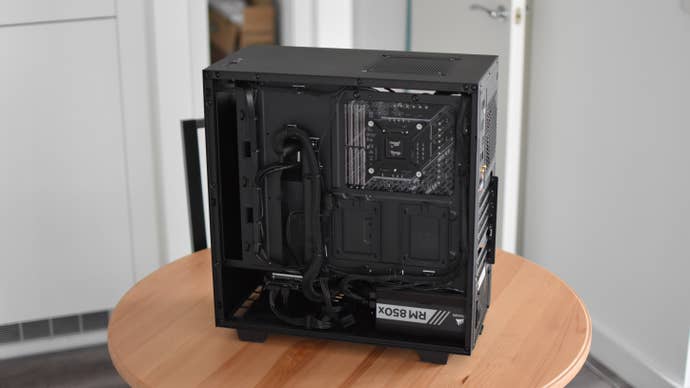
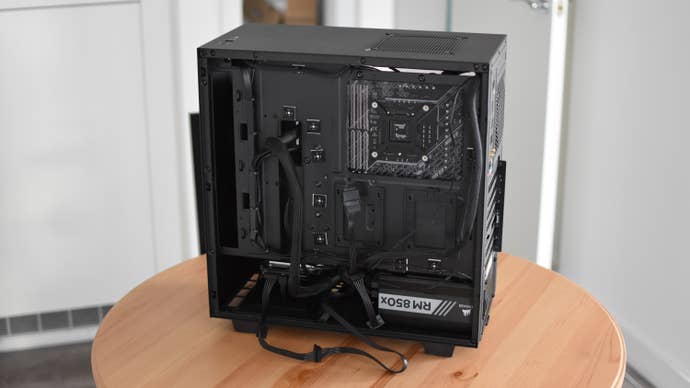
Why bother with tidying cables?
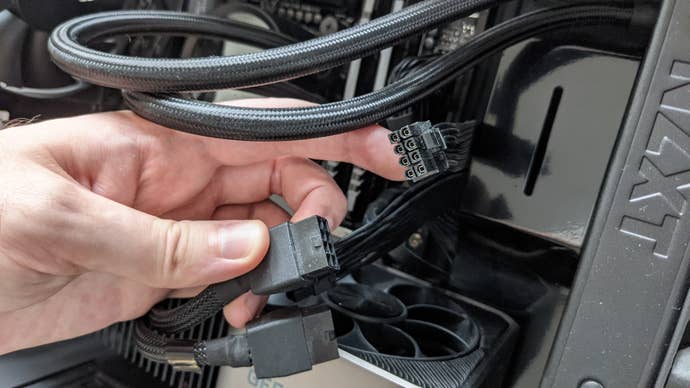
Or, worse, hitting a fan as it spins.
Simpler channels may be easier to miss, but theyll be marked by small metal loops.
These allow you to use cable ties (a.k.a.
Channels are your friends.
Routing holes
The other nice thing about routing channels?

Between the PSU and the HDD cage?
Thats prime storage space for excess cabling.
Step 1:Place the PC down flat on its left side, and grab the right side panel.
These dont need to be screwdriver-tight, just nice and firm.
How to build a PC: connecting peripherals
Tantalisingly close to the finish line now.
Step 1:Connect any USB peripherals.

This step has the distinction of being the most obvious and self-explanatory step in our ten-page guide.
Step 2:Plug in an Ethernet cable if youre using one, or a USB Wi-Fi adapter.
Or, if your motherboard has onboard Wi-Fi, it probably came with a little dual-wired antenna.

it’s possible for you to install this by screwing both cables onto the I/O panels matching golden connectors.
Step 3:Connect your monitor to a display output on thegraphics cardnoton the motherboard I/O panel.
Aaaaaand you’re all sorted.

Ready for your PC’s first boot?