The only potential drawback, then, is the performance hit.
As such, youre more likely to see a slight performance dip when recording.
Press the Steam button, select parameters, then scroll down to the Game Recording section in the sidebar.

Step 2:Upon choosing a mode, some additional parameters will appear below.
If you exceed these, background recording wont stop, butwillstart overwriting older footage.
Once youve selected a mode, youre ready to launch a game and get recording.

This is fully automatic, and recording will end itself whenever you wrap up the game.
This wont stop or otherwise interfere with the background recording, so feel free to snap these snippets liberally.
You also dont need to wait to start viewing, editing, and sharing clips.
Just use the same shortcut again to stop recording, and boom, youve got a clip.
you could look out for the pop-up in the bottom-right corner to confirm that clipping has started and finished.
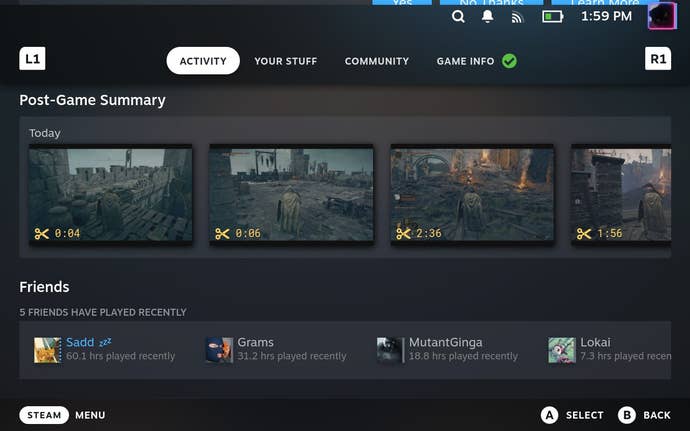
Select “View recordings” and youll get a library of all your previous clips for that game.
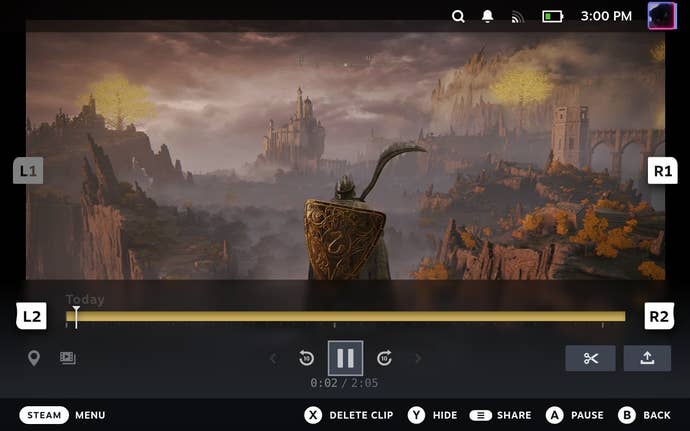
Step 4:Press the Y button to bring up the full playback and editing interface.
How to edit and share clips
Step 1:Open up your clip, or background recording.
Scroll down to the Media section if you cant immediately see these.
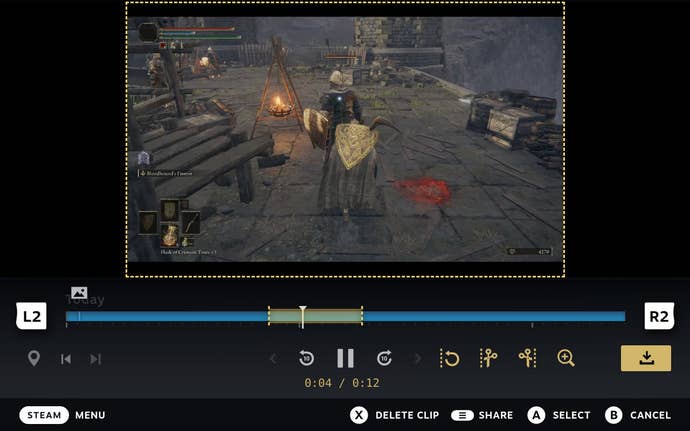
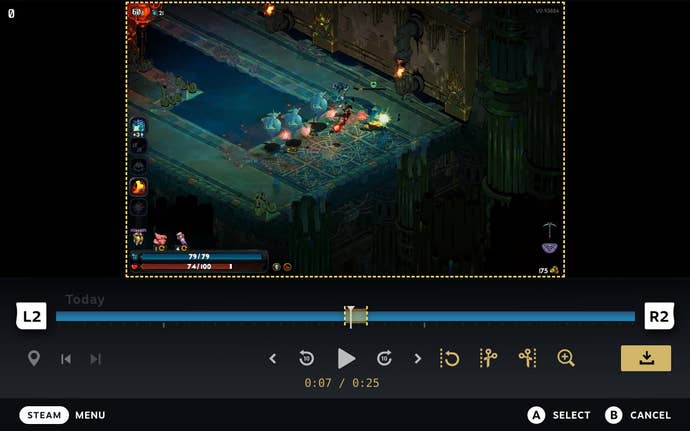
Step 2:Select your clip and press the Y button to bring up the timeline interface.
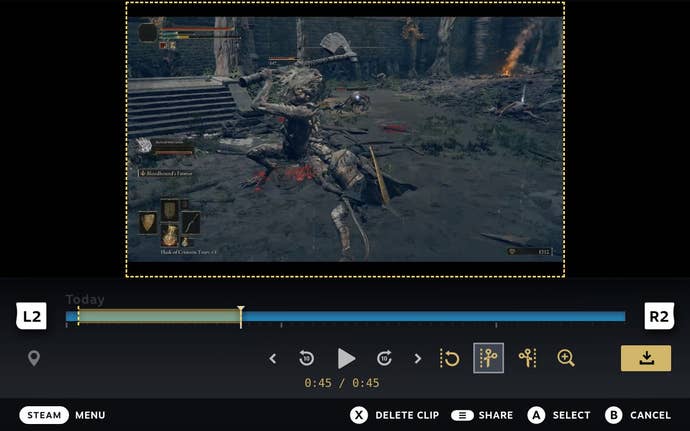
Start by selecting the scissors icon that appears on the Y button menu.
The blue timeline bar should now have a yellow section, representing your clip.
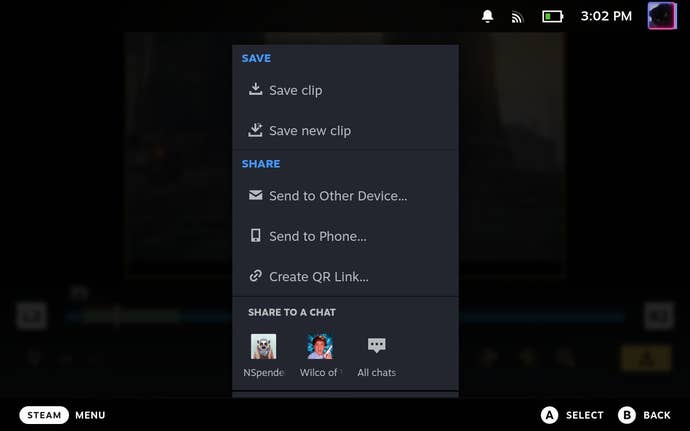
Step 4:Tap the yellow Save/Share button and choose an option.
The other four sharing options are the same ones explained in step 2 above.