Set up the operating system, and your PC build is complete
This is it, folks.
But which version to choose?
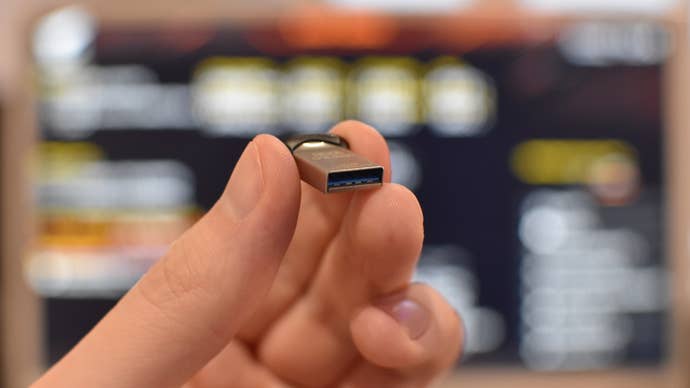
Or just buy a ready-made USB stick (UK/US), and skip to the installation guide further below.
Confirm that the language and edition tweaks are set to what you want, then click ‘Next’.
Step 3:Leave ‘USB flash drive’ checked, then click ‘Next’.
On the next screen, choose the USB drive you want to use, and click ‘Next’.

Step 4:Wait a while the Windows 11 files are downloaded to the USB drive.
Once finished, click Finish to finish, finishingly.
Select ‘Create installation media’ then ‘Next’.
Click ‘Next’ once youre satisfied.
Step 4:see to it ‘USB flash drive’ is checked, then click ‘Next’.
Then, select your USB stick and click ‘Next’ once again.

Click ‘Finish’ once its done.
This tells your PC that it should boot from this stick, rather than any other connected storage drives.
Select your language, time/currency format, and keyboard format.

The defaults will probably be fine.
Click ‘Next’, then ‘Install now’.
Step 3:After a few moments youll be asked to key in your Windows activation key.

Check the box to confirm youve read them, then click ‘Next’.
Step 5:Sit back and let the installer do its thing.
Step 6:Eventually youll reach a screen asking for your country or region.

Thats right, youve reached the desktop, on a PC you built yourself.
Is there no greater sight, perhaps in all of human existence, than a default wallpaper?
And remember: while you could and should savour this success, its also only the start.

What a fine way to spend a few hours.